Last updated November 17, 2026



Free written scope consultation - allowances, timeline, and change-order rules on paper before a single trade is scheduled
Bathroom Remodeling Troubleshooting: Common Problems and How to Fix Them
If your newly tiled shower is already cracking at the grout joints, the problem isn’t the grout – it’s what the tile setter found (or ignored) on the substrate beneath it. That single insight explains most of what goes wrong in a bathroom remodel. The symptoms show up weeks or months later, but the root cause almost always traces back to a decision made early, usually during demolition or rough-in, when the walls were open and nobody was watching closely. In our experience across Coral Gables, the same four or five failures keep repeating: substrate that flexes, a shower pan built wrong, moisture trapped behind waterproofing, and a scope that was never written down in the first place. This guide maps what you’re seeing back to what caused it, so you can get it corrected without being talked into a full replacement you don’t need.
Quick Answer
Most bathroom remodel problems are not random failures. Cracking grout, loose tile, and recurring moisture smells almost always trace back to a substrate or waterproofing error made during rough-in, not to the finish materials. The fix depends on correctly diagnosing which layer failed – which is why a proper repair starts with an inspection of what’s behind the tile, not a fresh coat of sealant over the symptom. Getting that diagnosis right is the difference between a real repair and an expensive repeat.
Styles & brands we work with
- Kitchen remodeling
- Bathroom remodeling
- Home additions & ADU
- Roofing
- Windows & doors
- Driveway & pavers
- Fence
Table of Contents
- Why Grout Cracks and Tile Moves: Substrate Failure
- The Persistent Moisture Smell After a Remodel
- Diagnosing a Shower Pan Leak: Liner, Drain Collar, or Grout
- What You Can Demand When Finished Work Doesn’t Match Spec
- How to Document Defective Work in a Florida Dispute
- Coral Gables Conditions That Affect Bathroom Durability
- Symptom-to-Root-Cause Decision Map
- Common Mistakes to Avoid
Why Grout Cracks and Tile Moves: Substrate Failure
Grout is a rigid material with almost no ability to flex. When it cracks in straight lines along tile edges or in a grid pattern that mirrors the tile layout, the tile beneath it is moving. Grout didn’t fail on its own – it was asked to hold together a surface that could not stay still. That movement almost always comes from one layer down: the substrate.
Here’s how to tell what you’re looking at. Run a hand across the cracked area and listen for a hollow tap when you knock on individual tiles. Loose, hollow-sounding tiles clustered near a wall, a curb, or the floor transition point to a substrate problem rather than an isolated grout issue. Hairline cracks spread evenly across a whole field of tile, with no hollow spots, are more often a curing or mixing issue – still worth fixing, but smaller.
A correct fix for a substrate failure requires removing the affected tile, in many cases the whole field, and inspecting what’s underneath. The three failures we see most in Coral Gables:
- Insufficient backer board thickness over a stud wall that flexes, especially on shower walls where a tub surround or a large-format tile adds weight.
- No moisture barrier or a barrier installed on the wrong side of the backer, which lets water sit against the framing and swell the studs until everything shifts.
- Lack of a proper subfloor panel under tile flooring, where the deflection between joists exceeds what a tile assembly can tolerate.
Regrouting a moving wall is money spent twice. If the substrate is the cause, the substrate is what gets corrected. If you’re weighing whether to repair or replace, our Bathroom Remodeling in Coral Gables service page walks through what a full rebuild involves and where the cost boundaries sit.
The Persistent Moisture Smell After a Remodel
A damp, musty smell that shows up days or weeks after a bathroom remodel finishes is a signal, not a cosmetic annoyance. Something is holding water where it shouldn’t be. There are three causes we find most often, and each one gets fixed a different way – which is why spraying an air freshener or running a dehumidifier treats the symptom, not the source.
1. Water trapped behind the waterproofing
If the waterproofing membrane was installed incorrectly – a discontinuity at the shower pan, a missed seal at a valve penetration, or a membrane installed over a substrate already wet during installation – water gets behind it and has nowhere to go. Daily showers feed it. The smell is the damp cavity behind the wall. Fixing this means opening the affected wall, correcting the membrane, and re-tiling. There’s no chemical treatment that reaches it.
2. A shower drain that isn’t sealed to the pan
Between the drain flange, the liner, and the tile, several sealing points need to line up correctly. When one is missed, small amounts of water seep under the pan and into the ceiling space below, or simply sit and stagnate. You’ll often notice the smell concentrated at floor level, or a soft spot in the subfloor near the drain. The fix is a drain assembly reseal and, in worse cases, a pan rebuild.
3. Poor or missing ventilation
An exhaust fan that’s undersized for the room, or one ducted into the attic instead of outside, pushes humid air into a closed cavity. That cavity eventually grows mold. The fix is a correctly sized fan vented to the exterior. It’s the cheapest of the three – and the one most often assumed before the harder causes are ruled out.
If the remodel was recent and the smell set in within the first few months, that timing itself is diagnostic. We see this pattern in Coral Gables condos where a small bathroom and a sealed building envelope mean a fan that works “okay” in a house still leaves the room too humid.
Diagnosing a Shower Pan Leak: Liner, Drain Collar, or Grout
A shower pan leak can come from three layers, and knowing which one failed before you call anyone saves you from paying for a demolition you didn’t need.
- Check the grout first. Cracked, missing, or powdery grout at the shower floor corners is the most common and cheapest cause. A small amount of water passing through grout is normal for some tile assemblies if the pan is built correctly beneath – but a lot of water passing through cracked grout with no pan under it becomes a leak. If the ceiling below shows a wet spot that appears only after showering and dries out, start with grout and grout-line sealing.
- Then check the drain collar. The drain flange and the liner beneath it must be clamped together with a properly installed seal. When the clamp ring is loose, or a rubber gasket was installed over the liner instead of under it, water leaks directly to the ceiling below. The telltale sign is a wet spot concentrated directly beneath the drain rather than the whole footprint of the shower.
- Then check the liner. A pre-sloped pan liner that was not sloped correctly, was punctured during tiling, or was cut too short at the curb lets water pool and eventually find its way through. You usually can’t confirm this without opening the floor. A soft spot at the curb or a slow seep that worsens over months points here.
Grab a step stool and inspect the ceiling below the shower while someone runs water in the shower with the drain plugged for a few minutes. A slow leak that appears only under the drain is almost always the drain collar. A leak that appears across a wider ceiling patch is usually the liner or a pan built without the correct slope. That single test right now can save you a much larger bill later.
What You Can Demand When Finished Work Doesn’t Match Spec
This is where a properly written contract earns its keep. Florida law does not require a contractor to redo work simply because you don’t like the appearance – but it does hold them to the written scope, the specified materials, and the agreed-upon standards. The contract is the document that decides what you can demand and what you can’t.
Read your scope of work carefully and compare it against what exists on your walls. If your contract specified a particular tile from a particular manufacturer and a cheaper alternative was installed, that’s a substitution issue – a legitimate claim. If it specified “Kohler faucet” and you got a no-name brand at a lower price point, same story. Bradford documented materials in writing before work starts specifically so that comparison is straightforward at close. Larger operations like general contractor in Coral Gables teams that work off documented brand rosters are easier to hold to spec because there’s a paper trail.
What you can legitimately demand when finished work is out of spec:
- Correction at the contractor’s cost if the written scope specified the material or method that was not delivered.
- A written explanation of any substitution, especially if the material is out of the brand set you agreed to.
- Correction under any written workmanship guarantee the contractor provided, within the guarantee period.
- A final walkthrough and sign-off documented in writing, including punch-list items, before final payment.
What a contract rarely covers: your subjective dislike of a finished color, a design choice you approved in the moment, or normal wear. The line between “not to spec” and “not what I pictured” matters before you make a claim. Our Bradford Remodeling Co Coral Gables home page explains how The Garrison Standard frames that line in writing on every project. And if a delay or scope change was discussed verbally, put it in writing; a verbal change is hard to enforce in any dispute.
How to Document Defective Work in a Florida Dispute
Documentation is what separates a claim you win from a complaint that goes nowhere. In Florida, the homeowner carries most of the burden of proof when disputing defective work, and the statutes that apply depend on whether a specific defect after final payment may fall under Florida’s construction defect notice rules, which generally require the homeowner to give the contractor written notice of the defect and an opportunity to correct it before filing suit. The practical takeaway: the paper trail starts the moment you notice the problem, not the day you call a lawyer.
Here’s a numbered approach we recommend to every homeowner, and it’s the same process a construction attorney will ask you to have already completed:
- Photograph and date everything. Wide shot of the area, close shot of the defect, a shot with a tape measure in frame if size matters. Your phone’s metadata timestamps each photo.
- Keep every written communication. Text messages, emails, and any written scope or change orders. If a contractor refuses to put something in writing, that itself is worth noting in a dated personal log.
- Send written notice of the defect. State the problem, when it appeared, and what you’re asking for. Send it by email and a certified letter so there’s a record of delivery.
- Give the contractor a reasonable opportunity to inspect and correct. Florida defect rules generally require this step before legal action. Document the response, whether they show up or not.
- Get a second opinion in writing. An independent contractor’s written assessment that identifies the cause is powerful evidence. It’s also how you avoid an upsell – a diagnosis with a cause attached is harder to inflate.
- Keep receipts for any mitigation costs. Fans, dehumidifiers, a temporary fix to stop further damage – all of it counts if the dispute goes further.
Documented scope on the front end makes this whole process shorter. If you’re planning your next project and want the paperwork squared away before any tool comes out, our Kitchen Remodeling in Coral Gables page shows how a written price and documented materials work in practice.
Coral Gables Conditions That Affect Bathroom Durability
Coral Gables’ climate is genuinely harder on bathrooms than most of the country. Warm, humid air year-round means a bathroom envelope that doesn’t properly vent to the exterior stays damp. Condo bathrooms in buildings around Coral Gables, the French Village area, and the Riviera neighborhood commonly lack exterior walls or adequate ducting, which makes ventilation a design decision rather than an afterthought.
The other recurring issue is the sealed building envelope. In homes near the Granada golf course and older Coral Gables residences, tile assemblies that rely on cement board alone – without a proper moisture barrier – often show their failures within the first 18 months of a remodel because the coastal humidity simply doesn’t let the assembly dry out. Local building code for wet areas in Coral Gables requires a proper waterproofing system at the shower pan and the walls behind the tile. A contractor who skips the membrane to save time is building an assembly that will fail in this climate. That’s not a guess; it’s what we see repeatedly.
Permits are another Coral Gables-specific factor. Bathroom remodels that move fixtures or plumbing require a permit and inspections, and the Coral Gables building department takes those inspections seriously. If a contractor talks you out of the permit to save a few weeks, you’re the one holding the liability when the assembly fails and no inspection record exists to show the work was done correctly. Pull the permit. Keep the inspection record. Every completed project we put our name on carries that record and the full-year written guarantee behind it.
Symptom-to-Root-Cause Decision Map
Use this as a starting point, not a diagnosis. It’s written to help you describe the problem accurately when you call, which is the fastest way to get a real number instead of a guess.
- Cracking grout in straight lines along tile edges, hollow tap when you knock: substrate movement. Expect to open the wall.
- Cracking grout across a wide uniform field with no hollow sounds: curing or mixing issue. May be a regrout.
- Persistent damp smell in an enclosed bathroom, no visible leak: ventilation first, then waterproofing.
- Wet spot on the ceiling directly below the shower drain: drain collar or flange seal.
- Wet spot across a wider ceiling patch below the shower: pan liner or drainage slope.
- Soft spot at the shower curb or floor: likely a pan rebuild.
- Musty smell set in within 60 days of a remodel: likely an assembly or ventilation error, still within any workmanship guarantee window.
When the answer points to opening the assembly, get it done by someone who documents the cause before the bill. Skilled bathroom remodeling in Coral Gables work starts with an accurate diagnosis – not a sealant-and-hope approach.
Common Mistakes to Avoid
- Sealing over cracked grout without finding the cause. Sealant hides a substrate problem for a few weeks and then fails worse. In Coral Gables humidity it can trap water against the substrate and speed up the damage.
- Skipping the permit to save time. Coral Gables requires permits for fixture moves and plumbing work, and a remodel without an inspection record becomes your problem when you sell or when the assembly fails.
- Accepting a verbal scope change. Any change to tile, fixtures, or layout that isn’t written down is the change a dispute is built around. Get it in an email or a written change order the same day.
- Hiring on price alone and skipping the written price. A price that moves once work begins is the most common complaint we hear from homeowners who hired the cheapest bid. A written price before any work starts prevents it.
- Assuming a smell is a mold problem before ruling out ventilation. A correctly sized exhaust fan vented outside is often the whole fix. Don’t pay for a demolition before a fan gets replaced.
- Skipping the walkthrough at close. A written punch-list and sign-off is what you’ll rely on if anything fails inside the guarantee period. Do the walkthrough slowly, with the guarantee document in hand.
- Not knowing who is on site. Homeowners who don’t know the crew’s identity or scope have less recourse when things go wrong. Insist on background-checked, uniformed technicians and a named scope.
See the difference
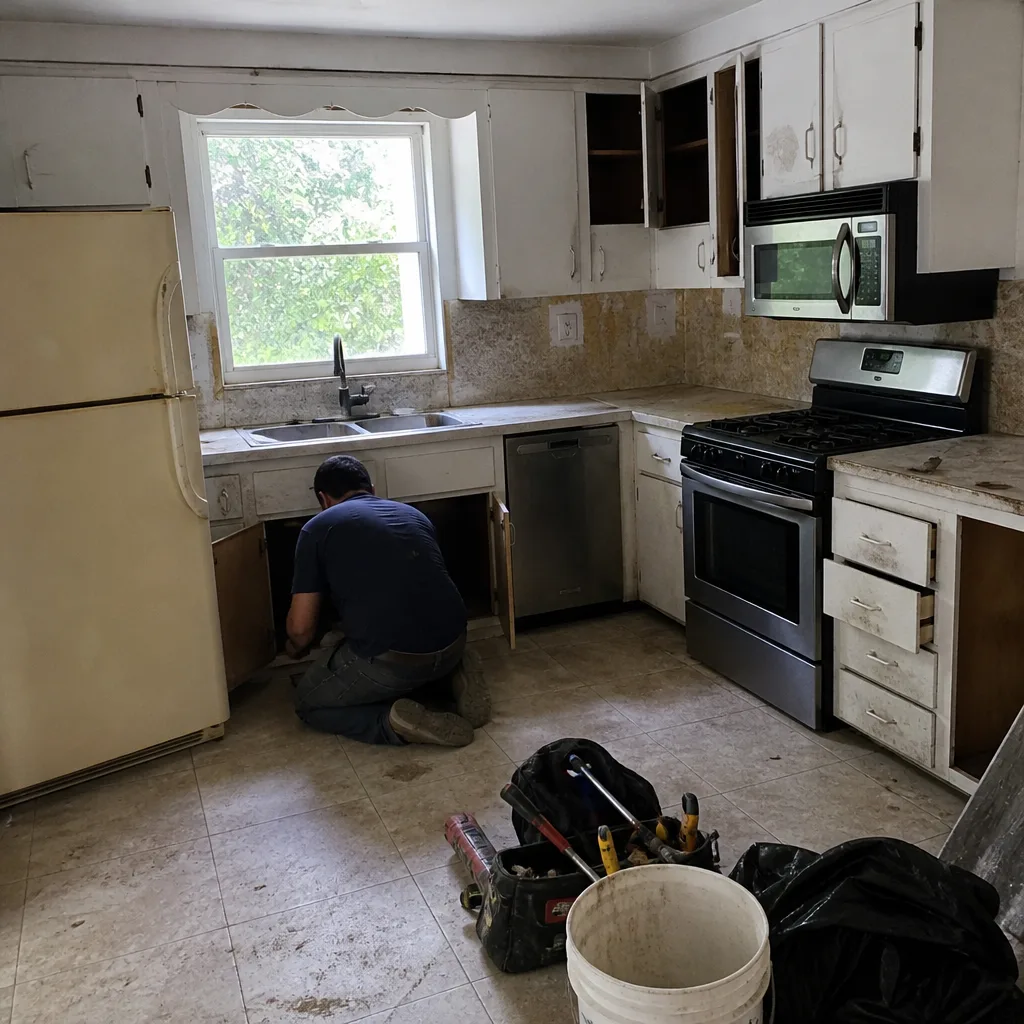 Before
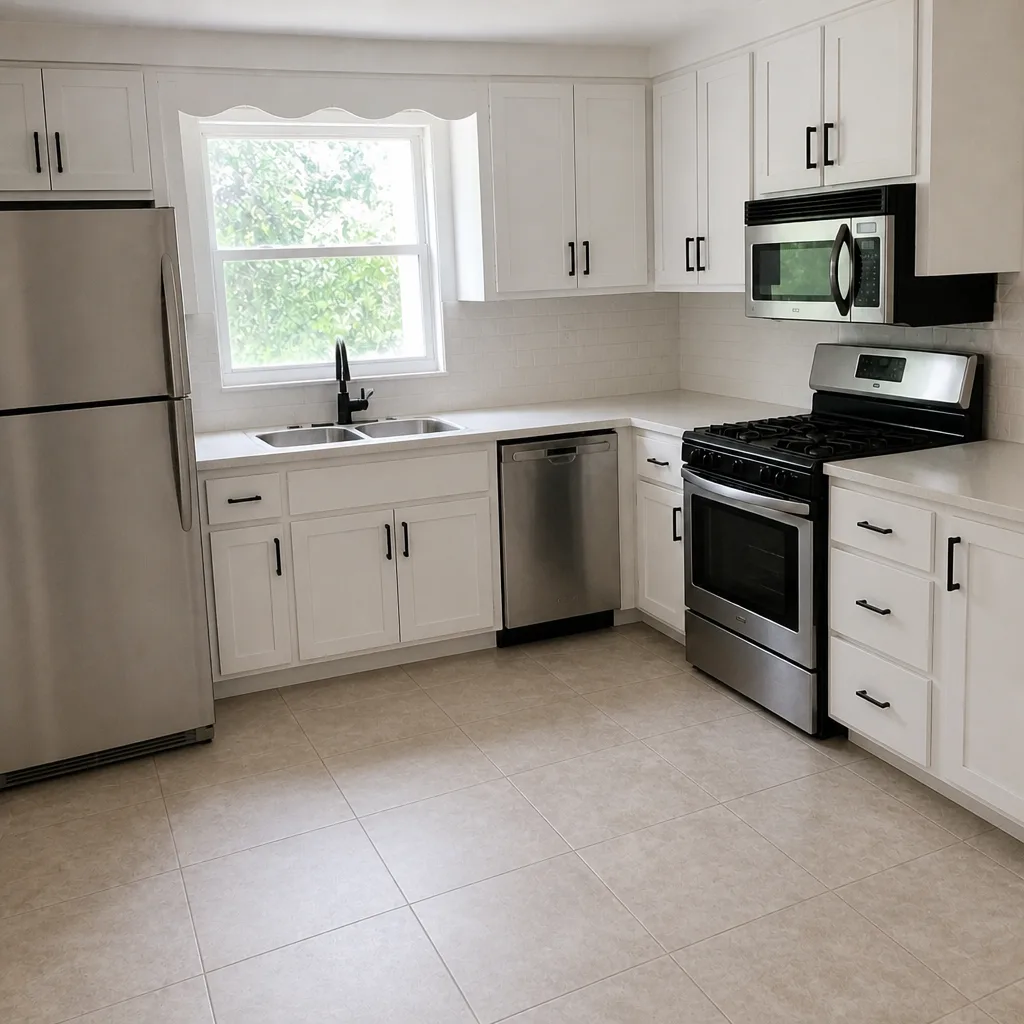 After
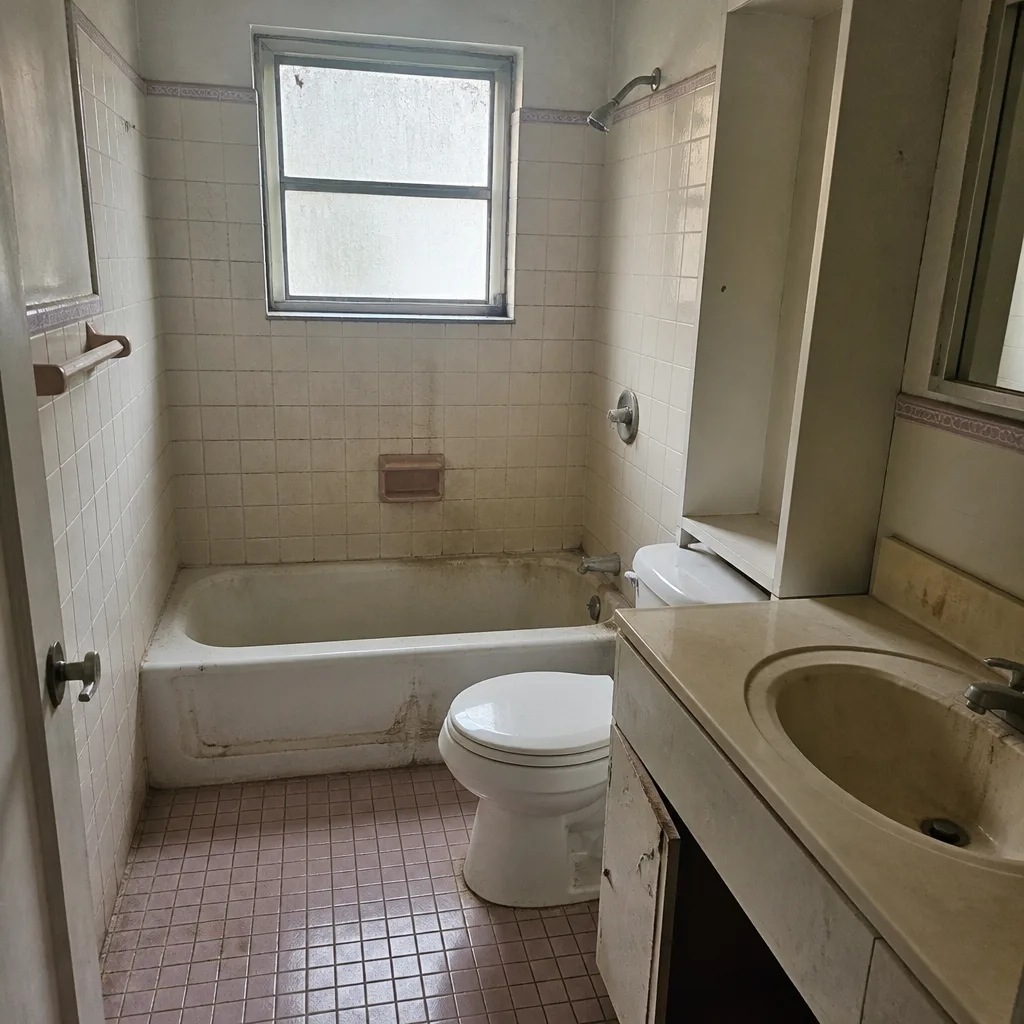 Before
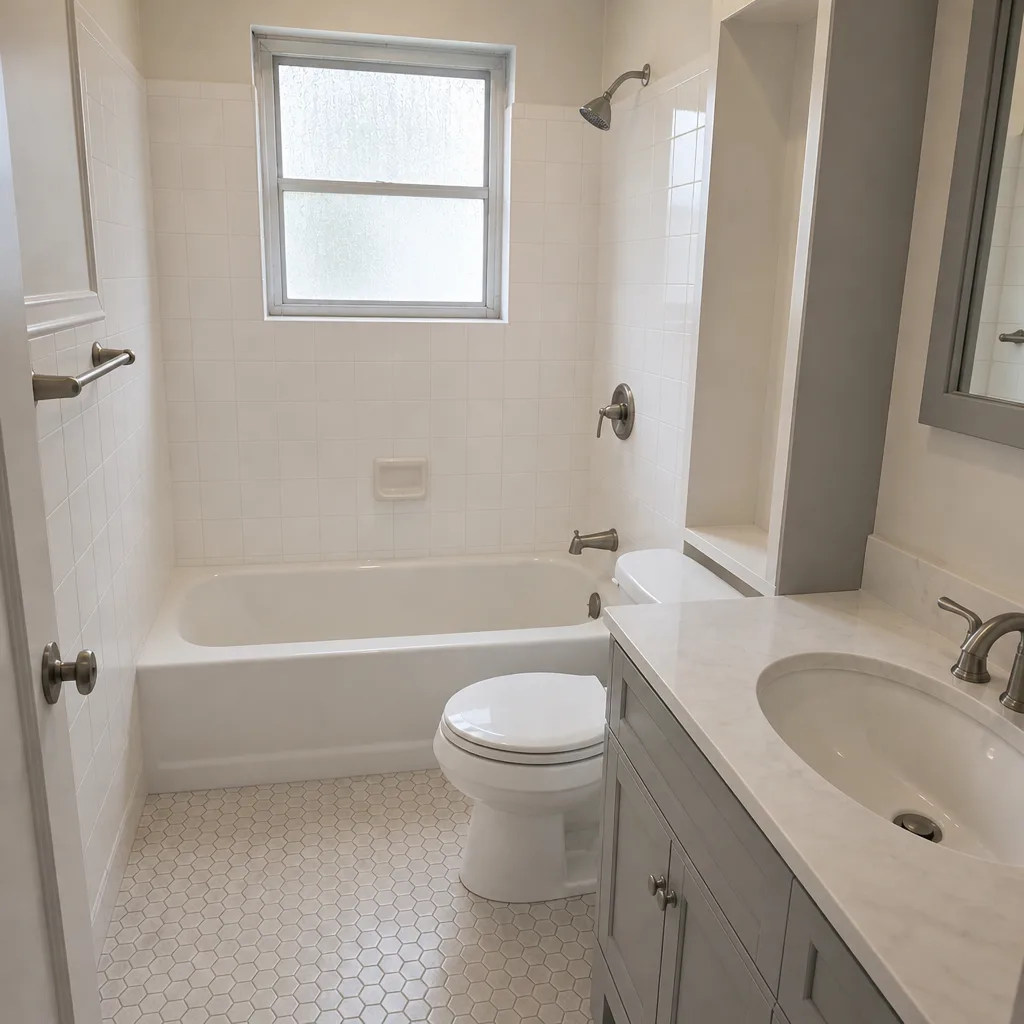 After
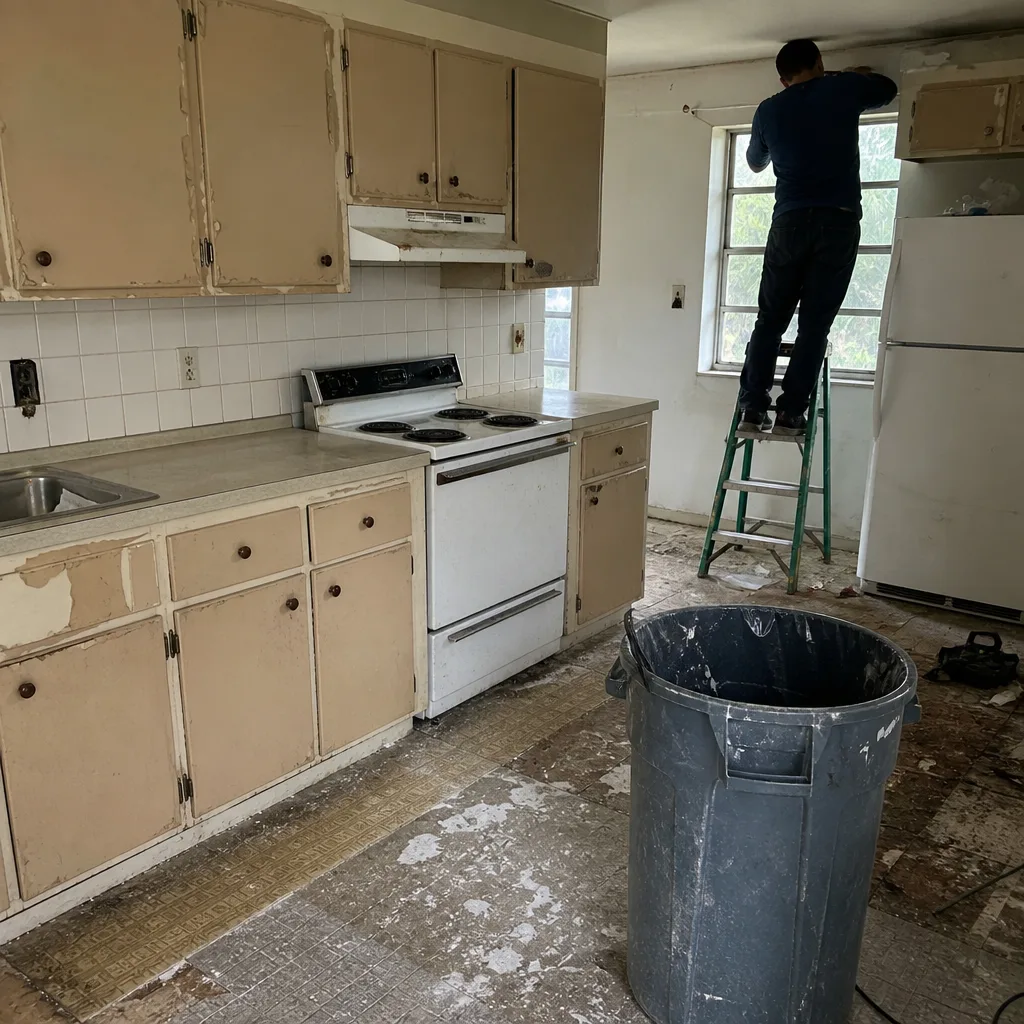 Before
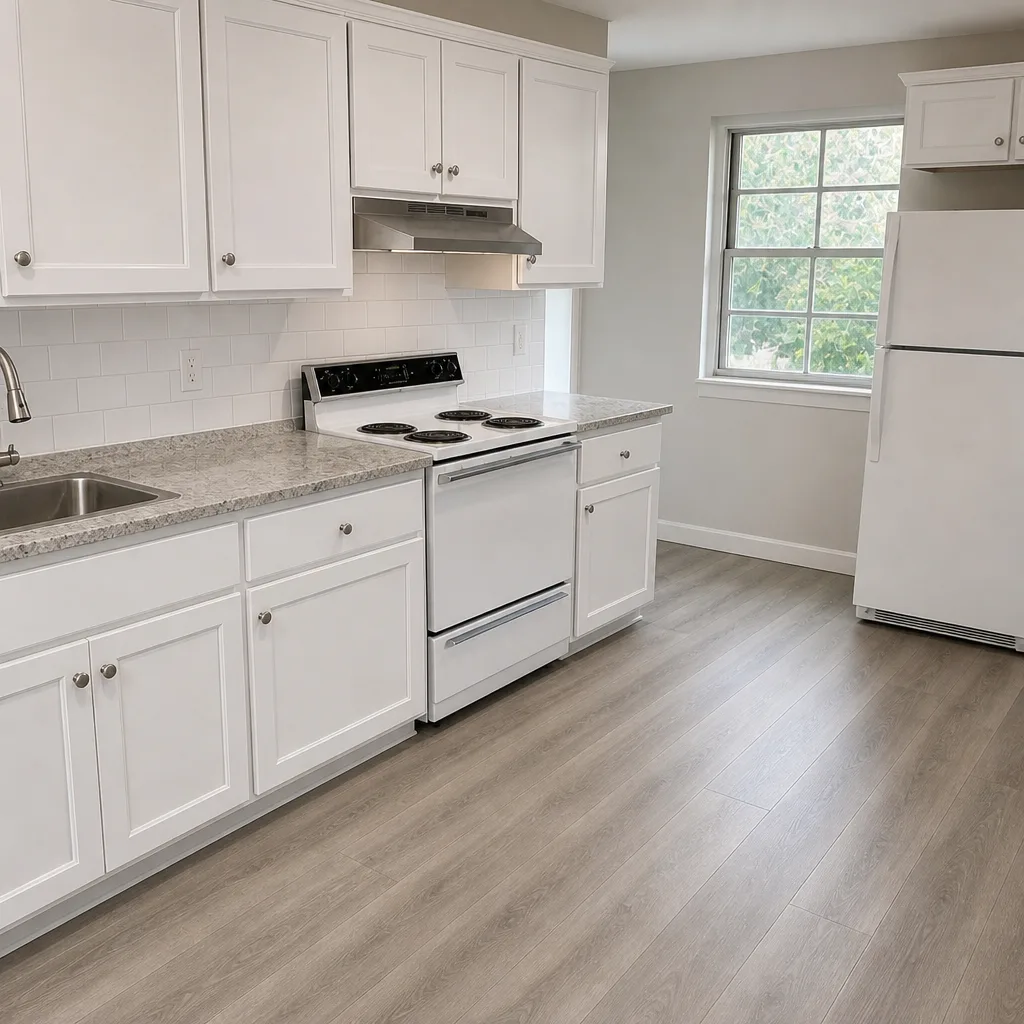 After
When to Call a Professional
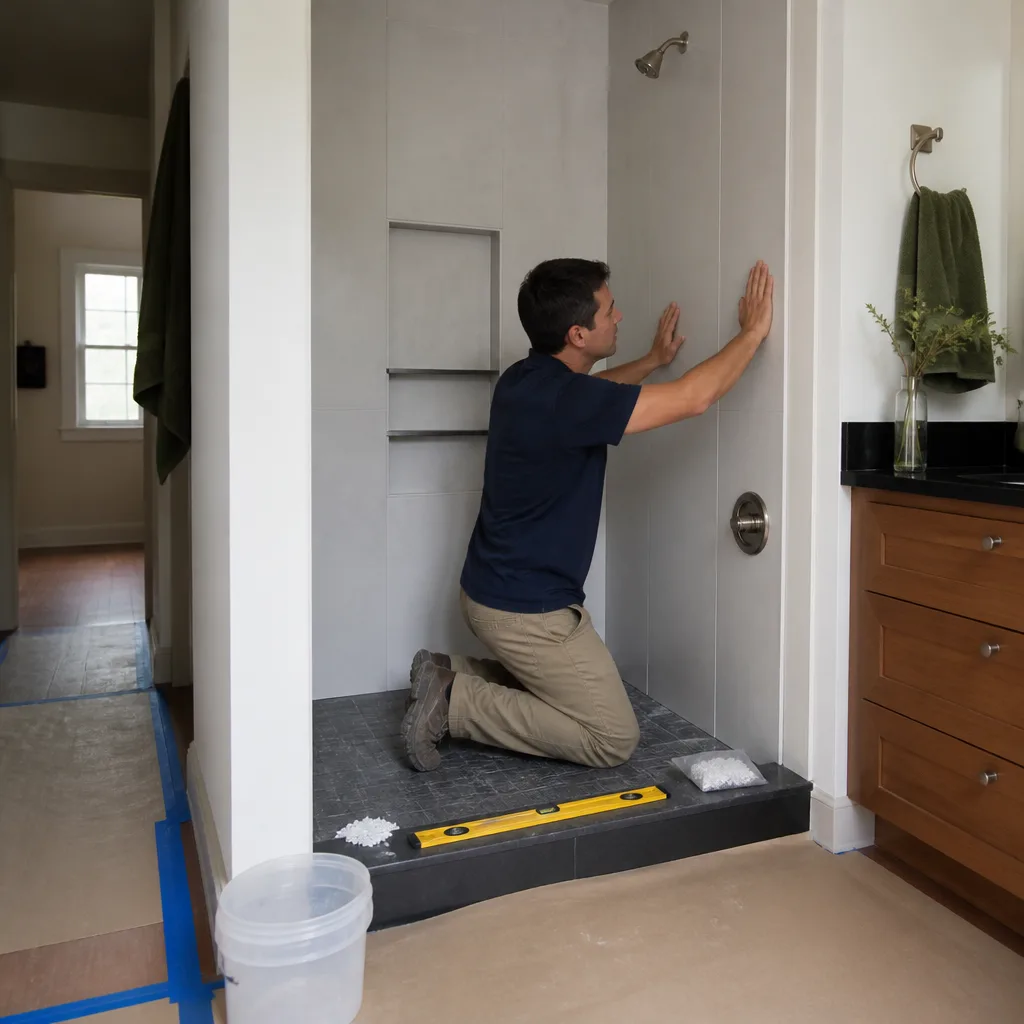
Some of these problems are within a careful homeowner’s reach – replacing a bathroom exhaust fan, re-grouting a stable wall, or re-sealing a drain flange can be straightforward. Others are not. If water is reaching a wall cavity or a ceiling below, if a shower pan has to be opened, if tile movement means removing a field of tile, or if the framing and plumbing behind the wall need inspection, that’s mechanical and waterproofing work where the cheapest fix almost always fails a second time. The same is true when a remodel is inside its guarantee period – call the contractor first, not a different one, because the written guarantee is the fastest route to a correction at no charge.
Bradford Remodeling Co Coral Gables offers free estimates in Coral Gables – call (833) 510-5367. We’ll document the cause before we quote the repair, put the price in writing, and back the finished work with the 365-Day Done Right Promise. If it’s not done right, we make it right, and that promise is in writing before any tool comes out.
Frequently Asked Questions
A regrout on a stable wall is usually the smallest line item, a shower pan rebuild sits in the middle, and a full substrate correction behind a shower wall sits highest because it involves demolition, framing correction, waterproofing, and re-tiling. We quote each of these individually from a written scope so the number is fixed before work starts. Call (833) 510-5367 for a free estimate – a written range is always provided before any work begins.
Because the tile beneath it is moving, almost always due to a substrate that flexes or a waterproofing assembly that’s absorbing movement. Grout can’t flex, so it cracks in a pattern that tracks the tile layout. The correct fix is to identify the substrate layer that’s moving and correct it, not to regrout. Call us to schedule an inspection – we document the cause first, then quote the repair.
Plug the drain, run the shower for a few minutes, and have someone watch the ceiling below. A wet spot directly beneath the drain points to the drain collar seal. A wider wet patch points to the liner. No spot at all usually points to grout only. That test takes five minutes and can tell you a lot before anyone takes anything apart.
The Garrison Standard is the framework we operate under: a written price before work starts, documented materials with real brand names attached, background-checked and uniformed technicians, and the 365-Day Done Right Promise covering any completed work that fails within the guarantee period. We return and correct the work at no charge. If something in your bathroom repair fails inside that window, call us and we’re back.
Yes, for anything that involves moving fixtures, plumbing, or electrical, Coral Gables requires a permit and inspections. Grout repair or tile replacement on a stable assembly does not usually require a permit. If you’re unsure whether your specific work moves a fixture or a drain line, call the Coral Gables building department or ask your contractor to confirm in writing. We pull permits on every project that requires them and hand you the inspection record at close.
If your written contract specified a particular brand or material and a different one was installed, that’s a scope substitution and you can legitimately request correction at the contractor’s cost or a written explanation of the substitution. Send written notice first, keep the original contract and any change orders, and give the contractor a reasonable opportunity to inspect and correct. If there’s no written record of the substitution, the contract still governs what was agreed.
The Bottom Line

Bathroom remodel problems follow predictable patterns: cracked grout and loose tile trace back to substrate movement, moisture smells trace to ventilation or waterproofing errors, and shower pan leaks can be narrowed to the liner, the drain collar, or the grout with a five-minute test. When the finished work doesn’t match the written spec, your contract is the document that decides the next move, and documented paper is what gives you standing in any dispute. The best prevention is a written price before work starts, documented materials, and a real workmanship guarantee – not a handshake. That’s how we run every bathroom project in Coral Gables, and it’s how we keep it squared away long after the last tile is set.
Written by the team at Bradford Remodeling Co Coral Gables.