Last updated November 17, 2026







Free written scope consultation - allowances, timeline, and change-order rules on paper before a single trade is scheduled
Bathroom Remodeling Maintenance Schedule: What to Do and When
Silicone caulk around a Coral Gables shower joint typically lasts about 18 months before it needs inspection. Most homeowners don’t touch it for five years, then wonder why a small caulk failure has turned into a full retile. That gap between what the material actually needs and what the homeowner actually does is where most of the money gets lost on a bathroom remodel. A remodel is only worth what you paid for it if the materials get maintained on the right schedule, and in South Florida’s humidity that schedule runs faster than what the grout and caulk manufacturers print on the label. This guide gives you the month-by-month and annual tasks for tile, grout, caulk, fixtures, and exhaust ventilation, plus how to inspect a shower pan before a liner failure becomes a subfloor replacement.
Quick Answer
In Coral Gables, a remodeled bathroom needs caulk inspection every 6 months and full replacement every 18 to 24 months, grout sealing once a year, exhaust fan cleaning every 3 months, and a shower pan check once a year. The 18-month caulk clock is the single most important item: let it fail and water reaches the substrate, which turns a $200 caulk job into a $4,000 retile and subfloor repair.
Styles & brands we work with
- Kitchen remodeling
- Bathroom remodeling
- Home additions & ADU
- Roofing
- Windows & doors
- Driveway & pavers
- Fence
Table of Contents
- Why Coral Gables Humidity Changes the Maintenance Clock
- The Month-by-Month Bathroom Maintenance Calendar
- Grout and Caulk: The 18-Month Rule
- How to Inspect a Shower Pan for Early Liner Failure
- Fixture and Valve Maintenance: DIY vs. Licensed Plumber
- Exhaust Ventilation: The Task Everyone Skips
- Keeping a Maintenance Log That Protects Your Warranty and Your Resale Value
- When to Call a Professional
Why Coral Gables Humidity Changes the Maintenance Clock
The national grout and caulk manufacturers write their maintenance labels for average indoor conditions: roughly 40 to 50 percent relative humidity, mild seasonal swings. Coral Gables doesn’t run average conditions. Our indoor humidity regularly sits in the 60 to 70 percent range, and during the wet season from May through October it climbs higher. That humidity does two things to a bathroom. First, it slows evaporation, so moisture from every shower stays on the tile, grout, and caulk membrane far longer than it would in a drier market. Second, it works on the cementitious grout and the flexible sealant at the same time, which is why a Coral Gables shower joint and a shower joint in the Midwest don’t age at the same rate.
Grout is porous by design. Sealed grout slows water absorption, but the sealant wears off faster when it’s wet more often. Caulk is the flexible barrier at every change of plane where tile meets tub, tile meets floor, or tile meets a shower valve trim. It moves with the house and it also absorbs and releases moisture. In a Coral Gables bathroom, caulk spends less time dry, so it degrades in about 18 months rather than the 3 to 5 years the label suggests. This is the core of the maintenance schedule: the materials don’t know the label, they respond to the climate. If you plan a remodel and want the materials specced for this climate from the start, our Bathroom Remodeling in Coral Gables page covers how we approach it.
What humidity does to a shower, in order
- Months 0 to 6: Caulk looks and performs fine. Grout sealant is intact.
- Months 6 to 12: Caulk at the shower floor starts to look slightly chalky. Grout sealant begins to thin at the wet wall.
- Months 12 to 18: Caulk develops hairline gaps at the corners and around the drain. Water can pass behind the tile.
- Months 18 to 24: Caulk failure widens. Grout in the wet zone starts to darken and hold moisture. The shower pan and substrate are now at risk.
That’s the whole reason the schedule matters. You’re not maintaining the surface look. You’re keeping water on the correct side of the tile.
The Month-by-Month Bathroom Maintenance Calendar
Here’s the schedule we recommend for a Coral Gables bathroom. It’s the same one we’d put in a maintenance log for a newly remodeled bath, and it works for any tile-and-grout bathroom in the area. Print it, tape it inside a cabinet door, and check the box each time.
Every month
- Wipe down the shower walls after the last shower of the day with a squeegee or a towel. This one habit does more than any product you’ll buy.
- Run the exhaust fan for 20 minutes after every shower, not just during. The fan clears the moisture the shower leaves behind.
- Check under the sink for drips or soft spots at the cabinet floor. A slow supply-line weep shows up there first.
Every 3 months
- Clean the exhaust fan grille and blades with a vacuum brush. A dust-loaded fan moves far less air.
- Inspect the caulk at the shower floor and tub edge with a flashlight and a dry fingertip. Any gap or lift in the bead means it’s time to address it.
- Check the toilet base and supply line for a slow leak. A wobbling toilet should be re-set, not ignored.
Every 6 months
- Full caulk inspection at every change of plane, including the corners, the shower valve trim, and the floor-to-wall joint.
- Re-seal the grout if water no longer beads on the surface. In Coral Gables, twice a year is realistic in a heavily used shower.
- Test the exhaust fan’s actual draw with a tissue held at the grille. If the tissue doesn’t hold, the fan needs attention.
Every 12 months
- Shower pan inspection (the steps are below).
- Check the pressure-balance valve for correct temperature response and hot-water cut-off.
- Inspect the tile at the wet wall for any loose tile or hollow-sounding tap.
Every 18 to 24 months
- Full caulk replacement in the shower and around the tub. This is the big one; don’t let it slide.
- Re-grout or regrout-and-seal any wet-zone grout that has cracked or crumbled, rather than topping it up with fresh grout.
Grout and Caulk: The 18-Month Rule
The 18-month rule is the heart of this guide. Silicone caulk around a Coral Gables shower joint lasts about 18 months before it needs inspection and, usually, replacement. The reason is simple: caulk is designed to flex, and every shower cycle in this climate loads it with moisture and then lets it dry only partially before the next cycle. Because the humidity is high, the dry phase is short, and the caulk never gets the recovery time the manufacturer assumed. Over 18 months, the bead loses elasticity at the corners and around the drain, which is exactly where it needs to stay sealed.
Here’s what the 18-month rule looks like in practice:
- At 6 months: inspect. Look for discoloration, a chalky surface, or a bead that’s pulling away from the tile at the corners.
- At 12 months: re-inspect. If you can press a dry fingertip into the bead and it doesn’t spring back, plan the replacement.
- At 18 months: replace the caulk. Don’t wait for a visible gap; by the time a gap is visible, water has been getting behind the tile.
- At 24 months: if you haven’t replaced it by now, replace it and check the substrate behind any loose tile.
Grout runs on a slightly longer cycle. Sealed cementitious grout in a Coral Gables shower should be re-sealed every 6 to 12 months depending on use. If the grout lines are dark, crumbly, or holding water after the shower, the sealant is gone. Don’t top up grout over failing grout; that’s the mistake that hides a moisture problem instead of fixing it. We see the results of deferred caulk and grout maintenance regularly in Coral Gables, and the cost difference is stark: a caulk-and-grout refresh runs a few hundred dollars, while a failed shower wall that needs retiling runs into the thousands.
How to Inspect a Shower Pan for Early Liner Failure
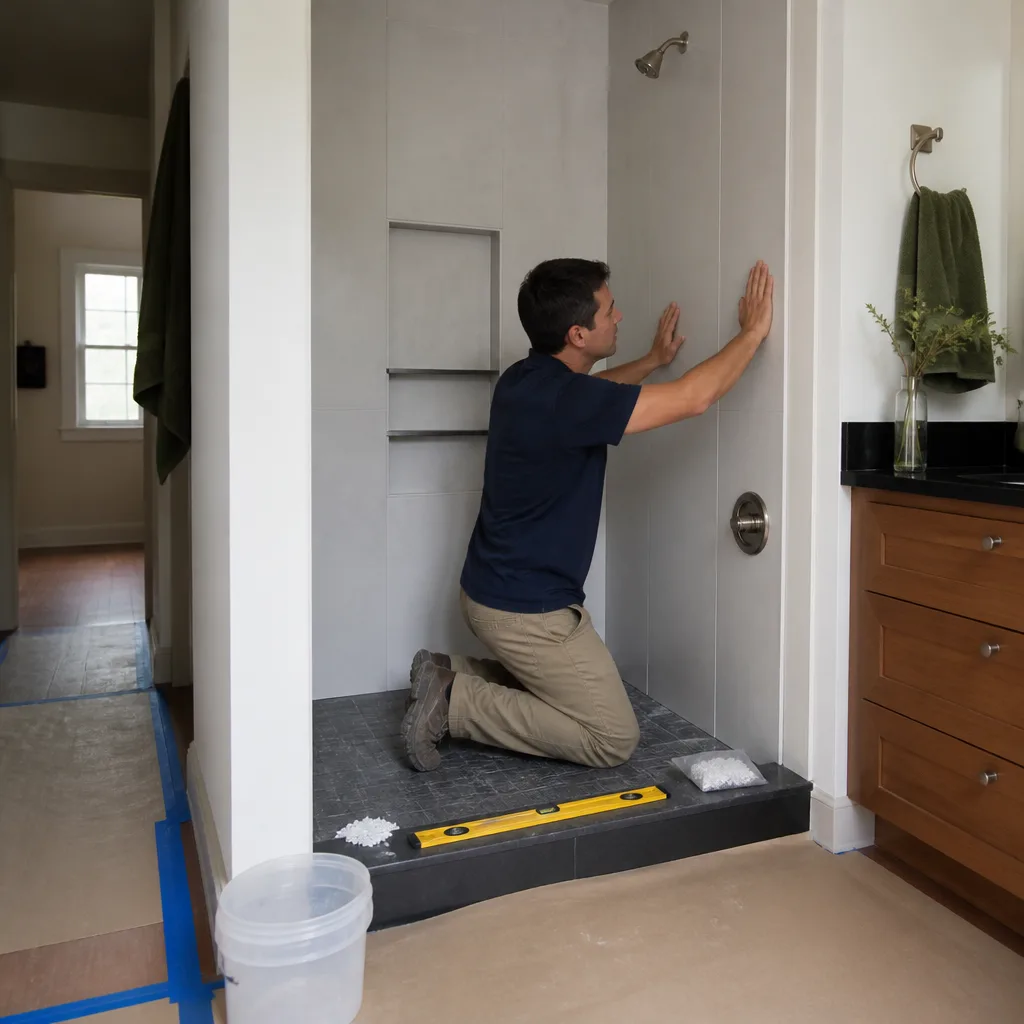
The shower pan is the sloped floor under the tile that collects and directs water to the drain. Underneath it is a waterproof liner, and if that liner has failed, water reaches the framing and subfloor. The tricky part is that liner failure rarely announces itself on the surface. Here’s how to check it without pulling up tile.
- The 24-hour drain test: plug the drain, run the shower until the pan holds about an inch of water, and let it sit for 24 hours. Check the ceiling below (if there’s one) and the walls at floor level for a damp spot or a stain. A damp ceiling below the shower is a liner or pan failure signal.
- The hollow-tile tap: tap the tile at the perimeter of the pan and the shower walls with the handle of a screwdriver. A hollow, dull sound means the tile has debonded, which usually means moisture is behind it.
- The soft-floor test: press around the drain and the outer edge of the pan with your foot. Any give or flex means the substrate has softened.
- The grout-and-caulk joint check: look at the joint between the pan perimeter and the wall tile. If the caulk is consistently failing in the same spot, water is working its way in there.
The good news about bringing in a professional is that a failing shower pan in Coral Gables is often caught earlier than you’d expect, because our humidity keeps the joint wet enough to look suspicious. If you suspect a liner problem, don’t do the demo yourself. A professional can pull the tile, inspect the liner, and tell you whether it’s a pan repair or a full subfloor replacement. Our General Contractor in Coral Gables service covers that scope, and if the discovery is worse than expected, the written price comes before any work begins.
Fixture and Valve Maintenance: DIY vs. Licensed Plumber
Not every fixture task belongs in a homeowner’s hands, and Florida rules matter here. Replacing a faucet, cleaning a showerhead, or re-caulking a tub are things a careful homeowner can do. Anything that involves opening the wall to work on the rough-in valve, replacing a shower valve cartridge on a pressure-balance valve with the water shut off at the main, or modifying supply lines behind the finish wall should go to a licensed plumber. Opening up a bathroom wall is a rough-in job and should be treated as one.
A simple split:
- Homeowner can do: clean or replace a showerhead, replace a faucet aerator, replace a toilet flapper, re-caulk a tub, wipe down and inspect supply-line connections.
- Needs a licensed plumber: replacing a shower valve cartridge, repairing a leaking rough-in, replacing a supply valve behind the wall, resetting a toilet flange, diagnosing a pressure-balance valve that runs hot or cold.
- Needs a remodeler: retiling a shower pan, replacing a shower liner, removing a tub to change a rough-in, and any task where the finish has to come off to reach the plumbing.
On any remodeled bath, we spec Kohler and Moen fixtures because the trim kits and cartridges are documented and replaceable, which keeps future maintenance simple. When we install a fixture, the homeowner gets the written price and the name-brand spec, so a future service call isn’t a guessing game. If your bathroom fixtures are aging and you’re weighing replacement, our The Garrison Standard page explains how we put the scope and the price in writing first.
Exhaust Ventilation: The Task Everyone Skips
If there’s one maintenance task on this list that most Coral Gables homeowners never touch, it’s the exhaust fan. And it’s the one that quietly undoes everything else. The exhaust fan is the bathroom’s moisture control system. Without it, the humidity from every shower stays in the room, feeding the exact conditions that degrade grout and caulk. A fan that’s dirty, undersized, or blocked is worse than no fan, because it gives a false sense of security.
What to do:
- Clean the grille and blades every 3 months with a vacuum brush. Dust-laden blades move air poorly.
- Test the draw monthly with a tissue held at the grille; it should hold and stay.
- Check the roof or wall vent cap annually for lint or a bird nest, and confirm the flap opens freely.
- Run the fan 20 minutes after the shower, not just while the water is on.
If a fan is over 10 years old, it’s often worth replacing with a properly sized, quiet model rather than cleaning it repeatedly. The energy savings and the moisture control both improve, and the fix is inexpensive compared to the cost of premature grout and caulk failure. If the fan is part of a larger bath update, our Bradford Remodeling Co Coral Gables home page covers the full scope.
Keeping a Maintenance Log That Protects Your Warranty and Your Resale Value
A maintenance log is the difference between “I think we kept up with it” and “here’s the record.” That matters two ways. First, most written workmanship guarantees cover the installation, not neglect. A full-year written guarantee on a bathroom remodel typically requires that the homeowner maintain the caulk and grout joints on a reasonable schedule, and a log shows you did. Second, when you sell a Coral Gables home, a well-documented maintenance history signals the bathroom was cared for, which is a real negotiating asset in a market where buyers are wary of water damage.
What to log:
- Date and task for every caulk inspection, re-seal, fan cleaning, and shower pan check.
- Photos of the caulk bead, grout lines, and any area you repaired.
- Receipts for any sealant, caulk, or fixture part you bought.
- Service call records for any plumber or contractor visit, with the written scope and price.
Keep it simple: a shoebox file, a folder on your phone, or a note on the back of a cabinet door. The point is that when a warranty question comes up, you can answer it with dates rather than memory.
Common Mistakes to Avoid
- Caulking over failing caulk. A fresh bead over a loose one traps moisture instead of sealing it out. Remove the old bead first, let the joint dry, then re-caulk.
- Topping up grout instead of re-grouting. Fresh grout over crumbly grout hides the problem and adds a layer that won’t bond. Remove the failing grout to a sound base, then re-grout and seal.
- Skipping the exhaust fan. In Coral Gables humidity, a dusty fan that runs five minutes per shower is the single biggest reason grout and caulk fail early.
- Treating a soft shower pan floor as cosmetic. A soft spot around the drain or perimeter means the substrate is compromised and water is already behind the liner. Get it inspected before it becomes a subfloor replacement.
- Ignoring the 18-month clock because the caulk “looks fine.” Caulk fails from the back side first. A visual check at 12 months and a replacement at 18 months is the schedule; the label’s 3 to 5 years does not apply in this climate.
- Doing rough-in plumbing work yourself. A simple faucet swap is fine; a valve cartridge, supply line, or anything behind the wall is a licensed-plumber job in Florida, and the cost of a mistake is a water leak inside a wall.
- Never keeping a record. No log means no proof of maintenance when a warranty claim or a resale question comes up.
See the difference
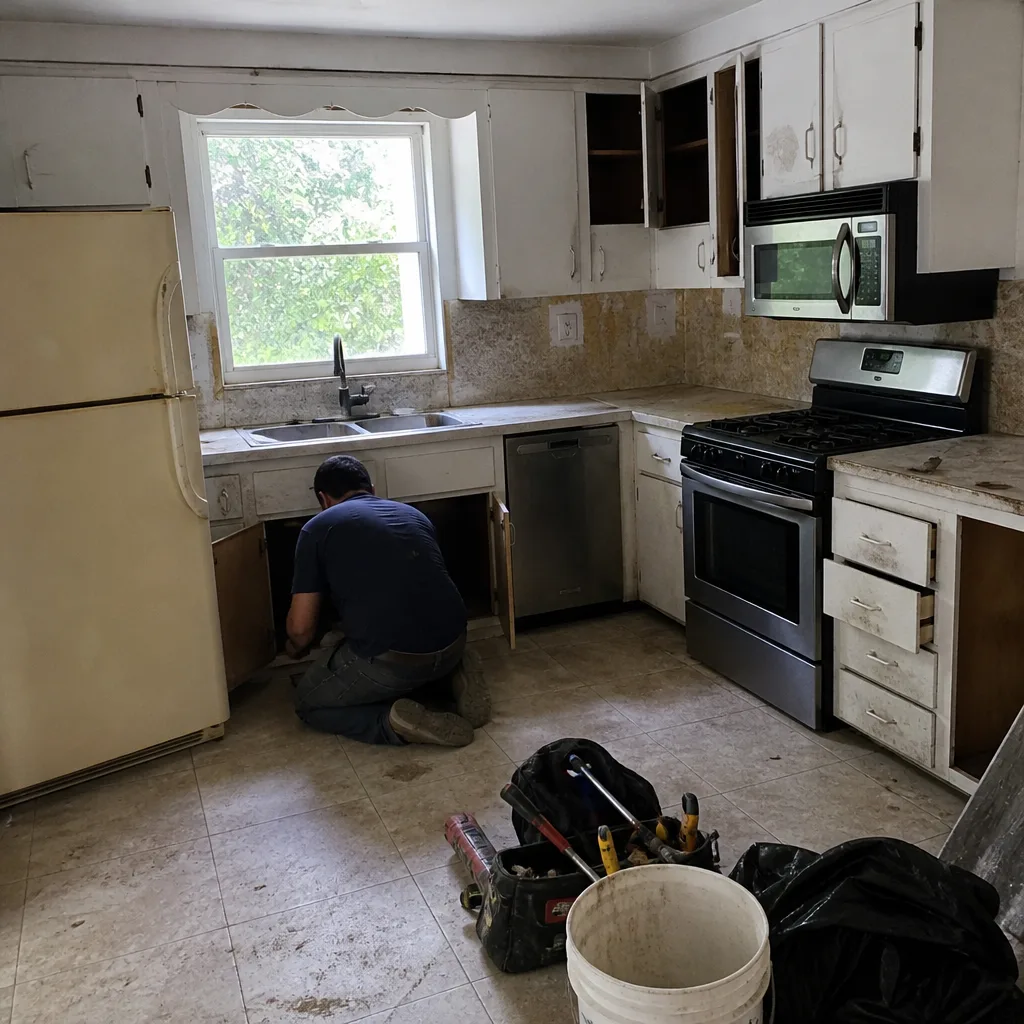 Before
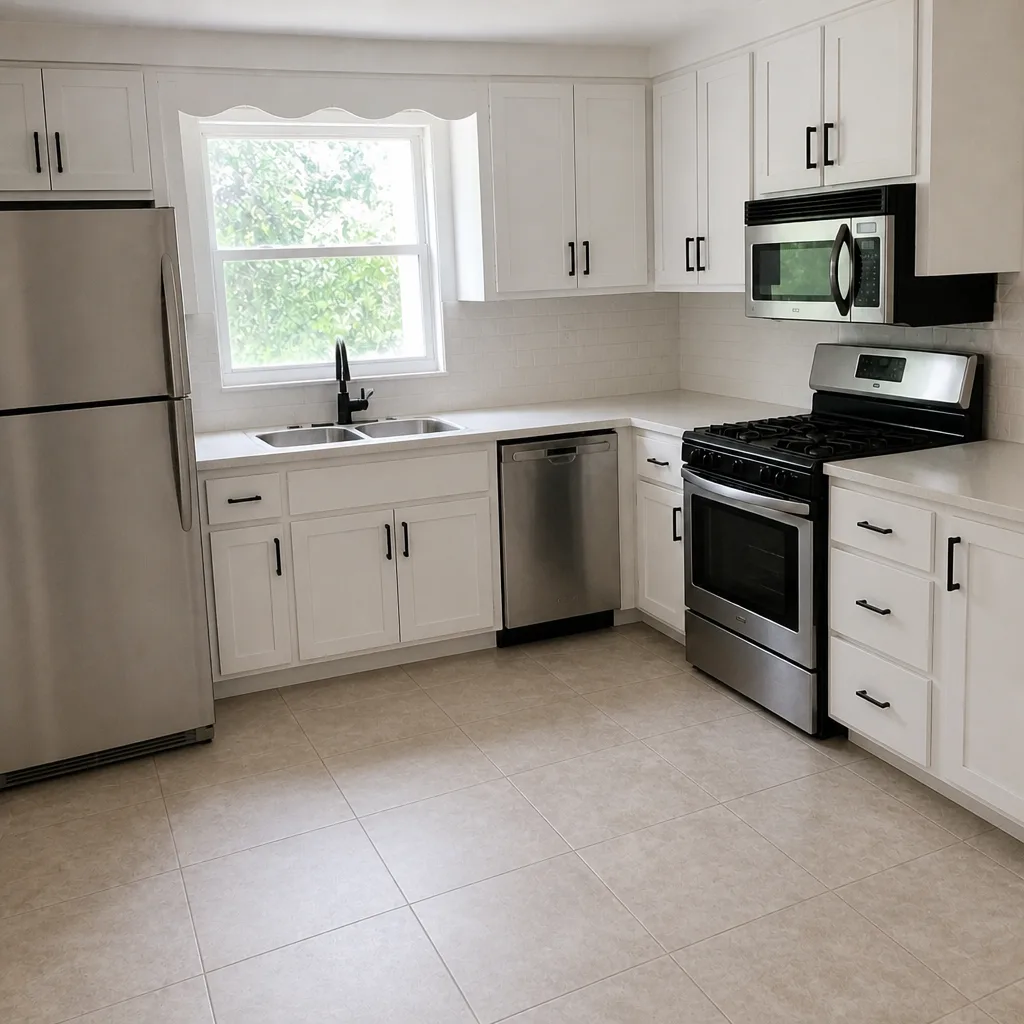 After
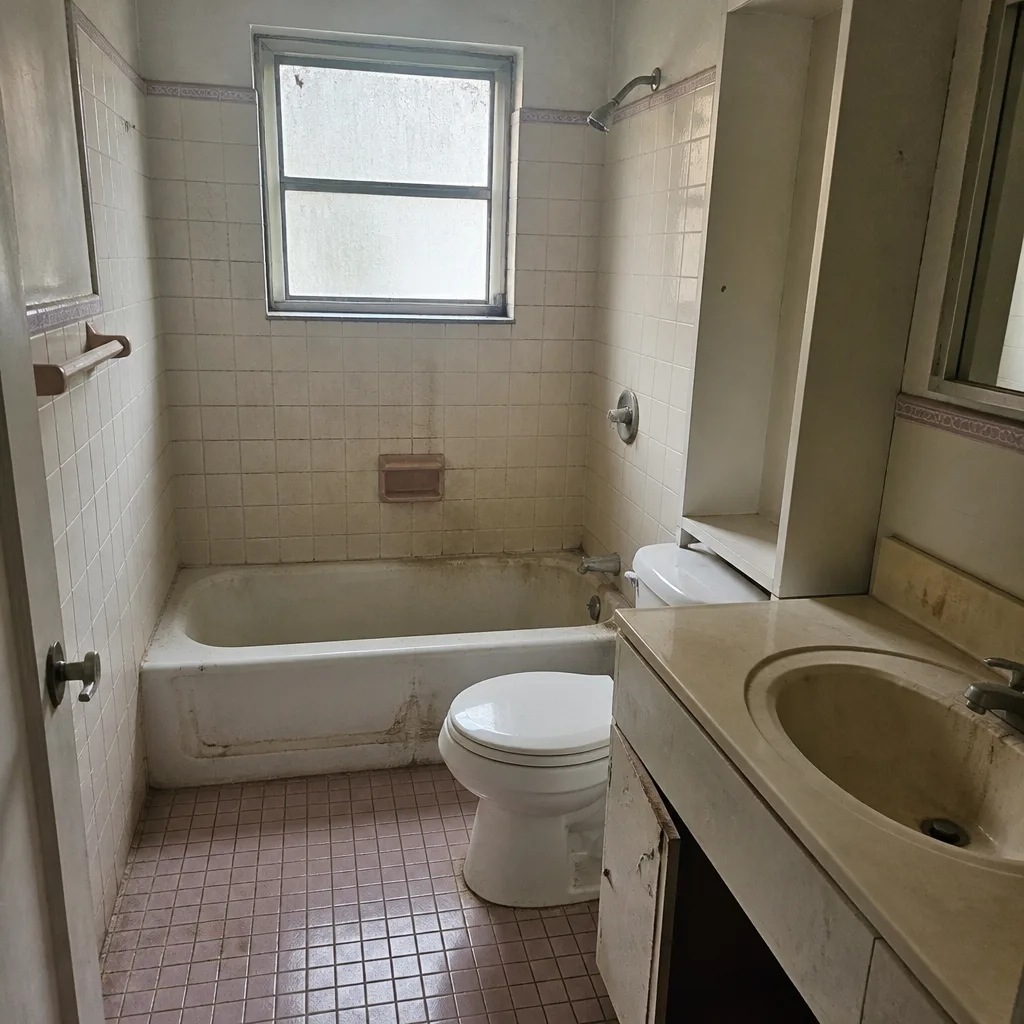 Before
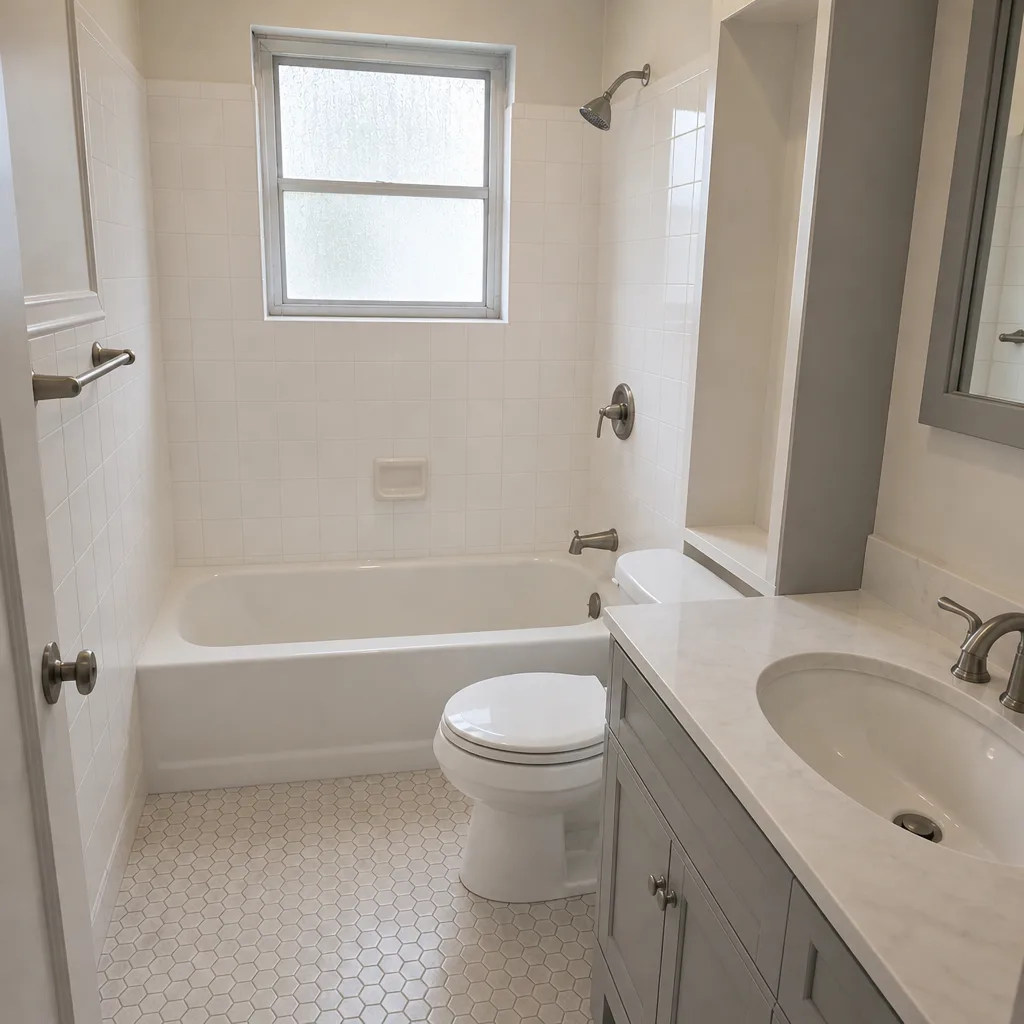 After
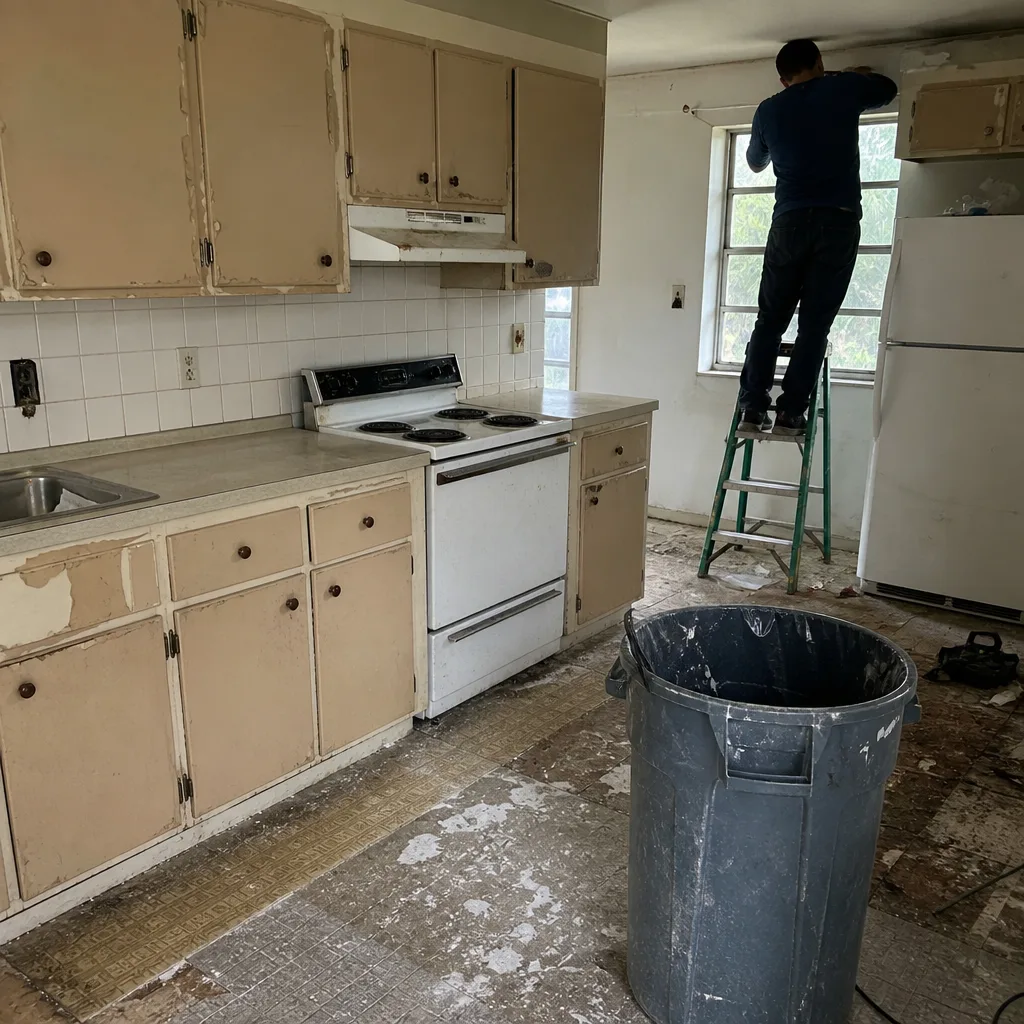 Before
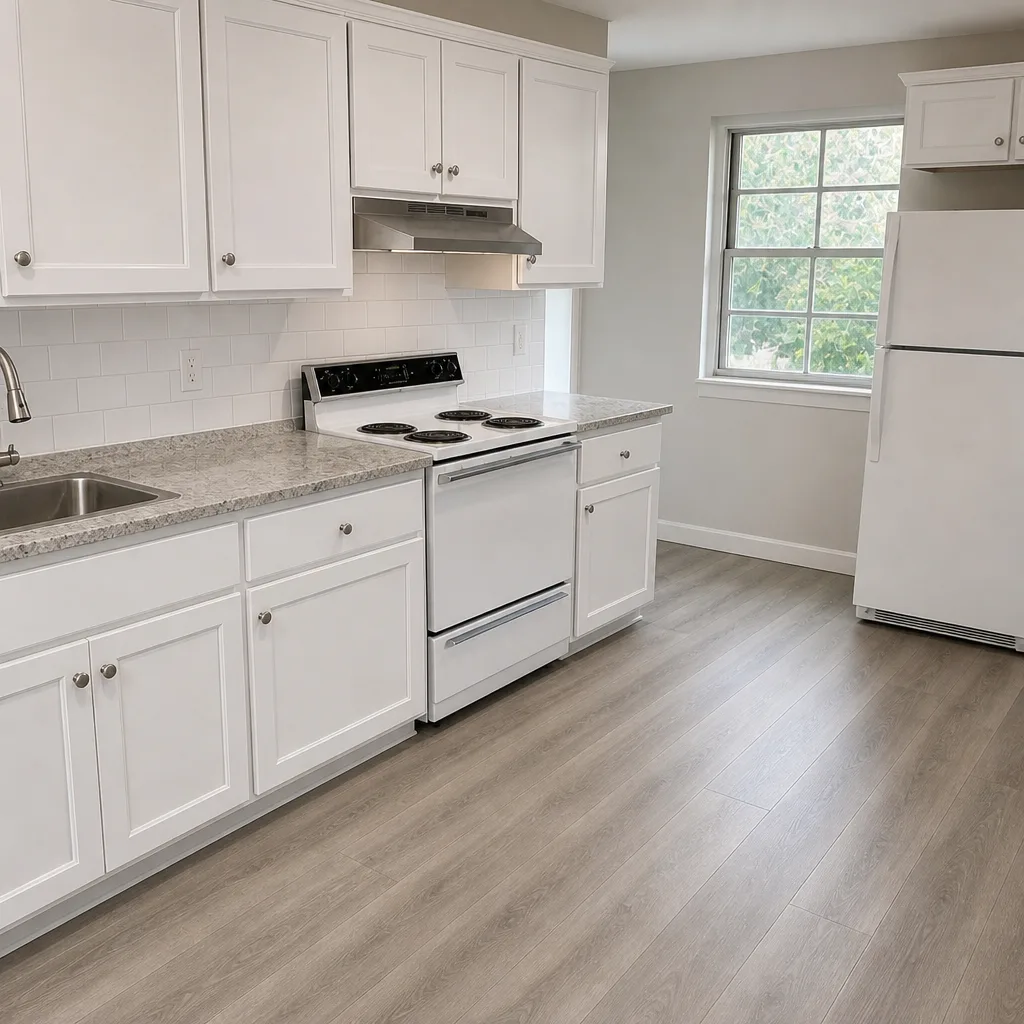 After
When to Call a Professional
Call a professional when the maintenance task crosses into demo, plumbing behind the wall, or anything that affects the shower’s waterproofing. Specifically: a soft or flexing shower pan floor, a damp stain on the ceiling below the bathroom, tile that sounds hollow when tapped, caulk that fails repeatedly at the same joint, a pressure-balance valve that runs hot or cold, or any task that requires opening the finish wall. Those are the jobs where the wrong fix costs more than the right one. Bradford Remodeling Co Coral Gables offers free estimates in Coral Gables; a written, line-item price comes before any work starts, and every completed project carries the 365-Day Done Right Promise, a full-year written guarantee: if the work fails inside that window, we return and correct it at no charge. Call (833) 510-5367 to schedule your free estimate. A live person answers, 24/7.
Frequently Asked Questions
Inspect caulk every 6 months and replace it every 18 to 24 months. The 18-month cycle is the one to remember; the national labels assume drier air than Coral Gables has, and the humidity shortens the caulk’s useful life substantially. If you see a gap or the bead won’t spring back when pressed, replace it sooner.
A bathroom needs mechanical exhaust ventilation that vents to the outdoors, not into the attic or a wall cavity, and the fan must be sized to the room. Local code review happens at permitting; when we remodel a bath in Coral Gables, the exhaust is part of the permitted scope. Call (833) 510-5367 if you’re unsure whether your fan is up to the job.
A damp ceiling below the shower, a soft or flexing floor around the drain, hollow-sounding tile at the pan perimeter, or caulk that keeps failing at the same joint. Any one of these justifies a professional inspection. Catching a liner failure early usually means a pan repair; catching it late means a subfloor replacement.
Yes, re-caulking a tub or shower joint and re-sealing grout are reasonable homeowner tasks if you remove the old material first and let the joint dry fully. What is not a homeowner task: removing wall tile, replacing a shower liner, or any plumbing behind the finish wall. Call (833) 510-5367 if the job crosses that line.
A properly built Coral Gables bathroom should need only routine maintenance (caulk, grout re-seal, fan cleaning) for many years. The exception is the caulk-and-grout refresh, which happens on the 18-month to 2-year cycle regardless of quality. That’s maintenance, not failure. What signals a real problem is a leak, a soft pan, or tile that has debonded, and those should be inspected promptly.
A dated log with photos and receipts supports a workmanship claim and adds documented value at resale. Most written guarantees cover workmanship, not neglect; a log is how you show the joints were maintained on schedule. Keep a simple record; the point is to answer a warranty question with dates rather than memory. Call (833) 510-5367 for an exact quote on any maintenance visit; estimates are free.
The Bottom Line
A Coral Gables bathroom remodels well but doesn’t maintain itself, and this climate runs the maintenance clock faster than the national product labels assume. The five tasks that matter most: inspect caulk every 6 months, replace it every 18 to 24 months, re-seal grout annually, clean and test the exhaust fan quarterly, and check the shower pan yearly. Anything that crosses into plumbing behind the wall or shower waterproofing is a professional job. Bradford Remodeling Co Coral Gables offers free estimates, a written price before work starts, and the 365-Day Done Right Promise on every completed project. Call (833) 510-5367 to schedule your free estimate.
Written by the team at Bradford Remodeling Co Coral Gables.