Last updated November 17, 2026





Free written scope consultation - allowances, timeline, and change-order rules on paper before a single trade is scheduled
Kitchen Remodeling Maintenance Schedule: What to Do and When
The most common source of hidden water damage in a remodeled kitchen isn’t the dishwasher drain. It’s the compression fitting on the refrigerator ice maker line. That little saddle valve or push-connect behind the fridge sits under constant line pressure, and its failure rate spikes at two distinct points: around year two, and again around year five. By the time a homeowner notices the warped cabinet base or the soft spot in the floor, the damage has usually been running for weeks. In Coral Gables, where indoor humidity routinely sits above 60 percent for much of the year, that timeline compresses. What follows is a stage-by-stage maintenance schedule for the first three years after a kitchen renovation, with the specific tasks, warning signs, and failure windows we’ve watched play out across hundreds of Coral Gables kitchens.
Quick Answer
After a kitchen remodel, walk the room at 30 days, 6 months, 1 year, and 3 years. At each interval you’re checking caulk joints, grout lines, cabinet hardware, and the water connections behind the fridge and under the sink. The first year is mostly about catching settling and curing issues while they’re still covered under your contractor’s written guarantee. Years two and three are when homeowner maintenance takes over, and when the small failures you ignored at year one start costing real money.
Styles & brands we work with
- Kitchen remodeling
- Bathroom remodeling
- Home additions & ADU
- Roofing
- Windows & doors
- Driveway & pavers
- Fence
Table of Contents
- The First 30 Days: The Settlement Inspection
- The 6-Month Check: Sealants, Hardware, and Humidity
- The 1-Year Walkthrough: What Your Warranty Covers and What It Doesn’t
- The 3-Year Deep Check: Grout, Sink Clips, and the Fridge Line
- How South Florida Humidity Affects Cabinets: MDF vs. Plywood
- Caulk Joint Maintenance: The Three Seams That Matter Most
- Checking and Re-Torquing Undermount Sink Clips
- Contractor Warranty vs. Homeowner Maintenance: Reading the Fine Print
The First 30 Days: The Settlement Inspection
New kitchens move. Cabinet boxes settle into their shims, doors and drawers find their final swing, and caulk shrinks as it fully cures. The 30-day walkthrough is about catching that movement while it’s minor.
Here’s what to check, in order:
- Open and close every door and drawer. Look for rubbing at the hinge side, gaps that grew, or drawers that now pull unevenly. Hardware that was perfect on install day can loosen after a month of daily use.
- Press along every caulk seam. The backsplash-to-counter joint and the sink-to-counter seam are the two that shrink most. A fingertip pressed along the seam will find any gap before water does.
- Check the toe kick for gaps at the floor. In Coral Gables, where slab floors and humidity coexist, a toe kick that pulls away from the floor is often the first sign of swelling in the cabinet base, especially on MDF boxes.
- Look under the sink for moisture. Dry the cabinet floor, lay a paper towel down, and check it after a few days of normal use. Any dampness points to a supply line, drain, or disposal connection that needs attention.
- Confirm the refrigerator water line connection. Pull the fridge out (carefully) and look at the fitting where the line meets the valve. Any corrosion, mineral crust, or dampness at that compression fitting is a red flag.
Most of what you find here is normal settling, and any contractor running a disciplined close-out will want to hear about it. At Bradford Remodeling Co Coral Gables, every completed project carries the 365-Day Done Right Promise: if something we installed fails within that first year, we come back and correct it at no charge. The 30-day walkthrough is the right time to raise those items, not year two.
The 6-Month Check: Sealants, Hardware, and Humidity
By six months, the kitchen has been through a full South Florida wet season or dry season, depending on when you finished. That swing is what stresses sealants and cabinet joints.
What to look at:
- Grout lines on the backsplash and floor. Hairline cracks in grout are normal as thinset and substrate finish curing. What matters is whether the crack is wider than a hairline or runs continuously along a seam. A continuous crack usually means movement underneath, not just curing.
- Cabinet door alignment. Doors that were flush at install often sit slightly proud after six months, especially on painted or lacquered doors where the finish is still settling. A quarter-turn on the hinge adjustment screw usually fixes it.
- Drawer glide tension. Undermount glides on the heavier drawers (the ones holding pots and small appliances) can loosen at the mounting screws. Check the screws that attach the glide to the cabinet side.
- Caulk at the counter-to-wall seam. This is the joint between the countertop and the wall behind it. It takes heat from the range and steam from the sink, and in Coral Gables kitchens it also takes a beating from humidity. A flexible silicone or siliconized acrylic caulk holds up far better here than a rigid painter’s caulk.
- Toe kick swelling. Run a hand along the toe kick where it meets the floor. Any softness, bubbling, or separation is the first sign that moisture is reaching the cabinet base. On MDF cabinet boxes, this is the failure point to watch.
Six months is also the right time to look at door and drawer pulls. Screws work loose. Re-tighten them before the holes wallow out, because a stripped pull hole is a much bigger repair than a snugged screw.
The 1-Year Walkthrough: What Your Warranty Covers and What It Doesn’t
The one-year mark is the most important inspection in the life of your kitchen. It’s also the edge of most contractor warranty windows, which makes it the last chance to get covered work corrected at no cost.
Before you walk the room, pull out your contract. Look specifically for language that distinguishes between “workmanship” and “materials,” and between “defects” and “normal wear.” A written guarantee worth having will say in plain terms what the contractor will come back and fix, and for how long. Bradford’s 365-Day Done Right Promise is exactly that: a full-year written guarantee on the completed project, with a free return visit if the work fails inside that window.
At the one-year walkthrough, check:
- Every seam that was caulked at install. If a seam has failed inside the year, that’s a warranty item. If it’s still tight, note the product used so you can match it when you eventually re-caulk.
- Grout condition on all tiled surfaces. Cracking or crumbling inside the first year points to a substrate or installation issue, not ordinary wear.
- Cabinet box joints. Look at the inside corners of base cabinets and the side panels of upper cabinets. Any separation at the joint is a structural concern.
- Door and drawer finishes. Peeling, bubbling, or delamination inside the first year is a finish defect, not a maintenance item.
- Undermount sink bond. Press up under the sink rim from inside the cabinet. Any flex or movement at the bond line is a warranty concern.
Document everything with photos and a dated list, and raise it in writing before the 12-month mark. This is exactly how The Garrison Standard is designed to work: everything squared away in writing, including what comes next if something fails.
The 3-Year Deep Check: Grout, Sink Clips, and the Fridge Line
Year three is when the maintenance you did (or skipped) in years one and two starts showing. It’s also when the two highest-risk components in any remodeled kitchen reach their documented failure windows: the refrigerator water line fitting and the undermount sink bond.
What to do at three years:
- Redo the caulk at all three critical seams (counter-to-wall, sink-to-counter, backsplash-to-wall). At three years, even good silicone is due for replacement. Use a kitchen-rated, mold-resistant silicone, not painter’s caulk.
- Inspect the refrigerator water line fitting where it meets the shutoff valve. Look for mineral crust, corrosion, or dampness. The compression fitting is the weak point. If it’s a saddle valve, consider having it replaced with a proper quarter-turn shutoff. This is a small plumbing job, but it’s the single highest-value prevention step in the whole kitchen.
- Re-torque the undermount sink clips. The clips that hold the sink to the counter can loosen as the bond ages. Snug them by hand (never overtighten) and look for any flex at the rim.
- Re-seal stone countertops if applicable. Cambria and Caesarstone are engineered surfaces and generally don’t need sealing, but natural stone does. Check the manufacturer’s recommendation for your specific surface.
- Check the exhaust hood ductwork. A kitchen hood that’s vented to the exterior collects grease in the duct over time. A yearly or every-other-year duct cleaning keeps it performing and reduces fire risk.
- Inspect the toe kick and cabinet bases again. Any swelling here at three years is a sign that moisture has been present for a while. Address the source, not just the symptom.
If your kitchen was finished with Schluter waterproofing systems under the tile, the three-year inspection is largely about confirming that the surface waterproofing is intact. Schluter’s system is designed to work, but no waterproofing survives a failed caulk joint left open.
How South Florida Humidity Affects Cabinets: MDF vs. Plywood
Coral Gables runs high humidity year-round, with indoor relative humidity often between 55 and 70 percent. That’s within range for most cabinetry, but it’s close enough to the edge that the material choice matters.
Plywood cabinet boxes tolerate humidity swings well. Plywood is a layered wood product that moves with moisture but doesn’t disintegrate. In a Coral Gables kitchen, a plywood box will hold up to years of seasonal humidity with normal maintenance.
MDF cabinet boxes (medium-density fiberboard) are made from compressed wood fibers and resin. They’re stable and take paint beautifully, but they have one real weakness: water. Any sustained moisture contact at an unsealed edge (the toe kick, the bottom of a sink base, the floor seam) causes MDF to swell and never fully recover. Once an MDF toe kick swells, it stays swollen.
What swelling at the toe kick tells you: moisture is reaching the cabinet base, and it’s been there long enough to soak in. The source is almost always one of three things: a slow leak from the sink or dishwasher, a failed caulk seam at the floor, or prolonged floor wetness from mopping. In Coral Gables, where afternoon humidity and occasional storm-driven moisture are part of life, we’ve seen more MDF toe kick swelling than almost any other cabinet failure. If your renovation used MDF boxes, check the toe kick and sink base at every interval.
Caulk Joint Maintenance: The Three Seams That Matter Most
Caulk is the cheapest defense your kitchen has, and the joint that fails first is almost always the one nobody looks at. Three seams carry the weight.
- The counter-to-wall seam (behind the counter, against the backsplash or wall). This joint takes steam from the sink, heat from the range, and in Coral Gables, steady humidity. It’s also usually hidden behind the counter lip, which is why it fails first.
- The sink-to-counter seam. This is the joint at the top edge of an undermount sink. It takes the most direct water contact in the kitchen. A failed seam here pushes water straight down into the sink base cabinet.
- The backsplash-to-wall intersection. This is where the tiled backsplash meets the painted or wallpapered wall. It’s a different joint from the counter seam, and it needs a paintable or color-matched caulk that flexes with the wall.
Product choice matters. Don’t use rigid painter’s caulk at any of these seams. Use a kitchen-rated silicone or siliconized acrylic designed for high-heat, high-moisture environments. Silicone holds up best at the sink and counter seams; a siliconized acrylic is fine for the backsplash-to-wall line if you need to paint over it. Re-caulk at the first sign of cracking, peeling, or a visible gap, not after the water gets in.
If your kitchen renovation used Schluter edge profiles at the backsplash or counter transitions, check that the profile is still seated and that the caulk at the profile edge hasn’t pulled away.
Checking and Re-Torquing Undermount Sink Clips
An undermount sink is held in place by two things: the adhesive bond at the rim and the clips that pull the sink up against the counter. When the clips loosen, the bond does all the work, and the bond eventually fails. A dropped sink is a real thing, and it usually happens with a full load of dishes in it.
Here’s the check:
- Open the cabinet under the sink and look at the clips. Most undermount sinks have 8 to 12 clips around the rim, attaching the sink to the cabinet or counter.
- Gently press up on the sink rim from inside the cabinet. Any movement or flex means the bond or the clips need attention.
- Snug (don’t overtighten) any loose clip screws by hand. Overtightening can crack a quartz or stone counter edge, so this is a job to approach carefully.
- Look for a dark or crusty line at the sink rim on the underside. That’s mineral build-up from a slow leak, and it means the seal has failed.
For a bathroom version of this maintenance, the same logic applies to sink and tub fixtures, which is why we cover it separately in our Bathroom Remodeling in Coral Gables guide. In the kitchen, the sink bond is the highest-stakes caulk joint in the house.
Contractor Warranty vs. Homeowner Maintenance: Reading the Fine Print
One of the most common surprises after a renovation is finding out that the failing item wasn’t covered. The fix is to read the contract before the problem starts, not after.
What a written guarantee should specify:
- Workmanship vs. materials. Most guarantees cover the labor of installation for a set period (often one year) and defer to manufacturer warranties on materials. Know which is which before you have a problem.
- What’s excluded. Caulk joints, grout cracking, and normal wear are often excluded, even in the first year. If your guarantee doesn’t exclude them, that’s worth noting.
- What “fails” means. A tight, explicit definition matters. Does peeling paint count? Does a loosened drawer glide? The best contracts say so in plain language.
- Response time and correction terms. Does the contractor return at no charge, or is there a service-call fee? Bradford’s 365-Day Done Right Promise means we return and correct the work at no charge if it fails inside the guarantee window.
Beyond the written guarantee, the brands themselves matter. Delta, American Standard, Toto, and Schluter all publish their own warranty terms on their fixtures and components, so a fixture that fails after the contractor guarantee expires may still be covered under the manufacturer’s warranty. Keep the documentation from your renovation in a single folder, and you’ll never be guessing.
Common Mistakes to Avoid
- Never checking the refrigerator water line. It’s the highest-risk fitting in the kitchen and the one nobody looks at. Pull the fridge out once a year and look at the fitting, not just the floor around it.
- Caulking over failed caulk. New caulk won’t bond to old, cracked caulk. Remove the old bead completely, clean, dry, and re-caulk. In Coral Gables humidity, caulk over caulk is how you get mold under the new bead.
- Ignoring a swelling toe kick. By the time a toe kick swells visibly on an MDF cabinet, the moisture has been present for weeks. Find and fix the source, not just the cosmetic symptom.
- Assuming “warranty” covers everything. Read the exclusion list before the problem happens, and put any warranty question in writing during the one-year window.
- Overtightening undermount sink clips. A snug clip is good. A cranked clip can crack a quartz counter edge. Hand-tight is the rule.
- Skipping the 30-day walkthrough. The first month is when the kitchen is settling. Catching a loose hinge or a shrinking caulk joint then is a five-minute fix. Waiting a year makes it something else.
- Not keeping the paperwork. Manufacturer warranties on Delta, Toto, American Standard, and Schluter fixtures are only useful if you have the model numbers on file. Keep them with your contract.
See the difference
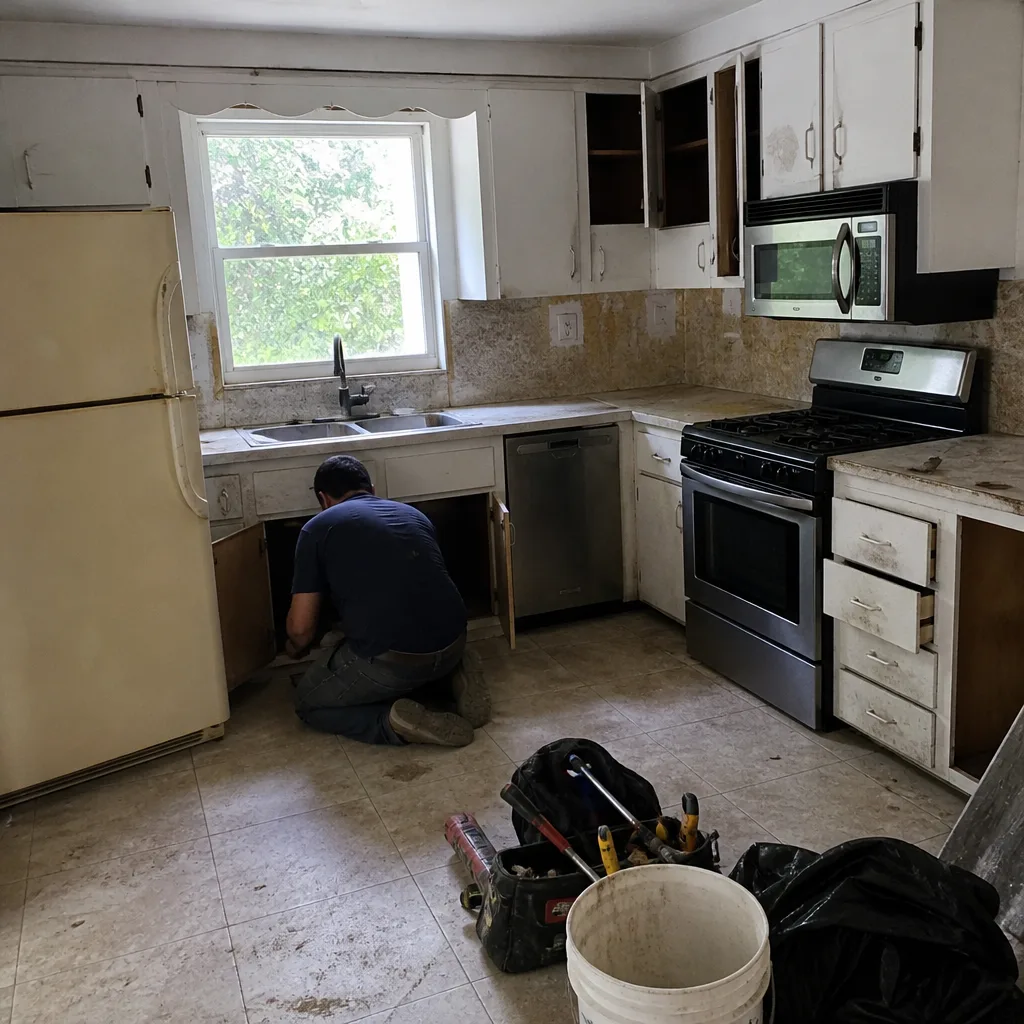 Before
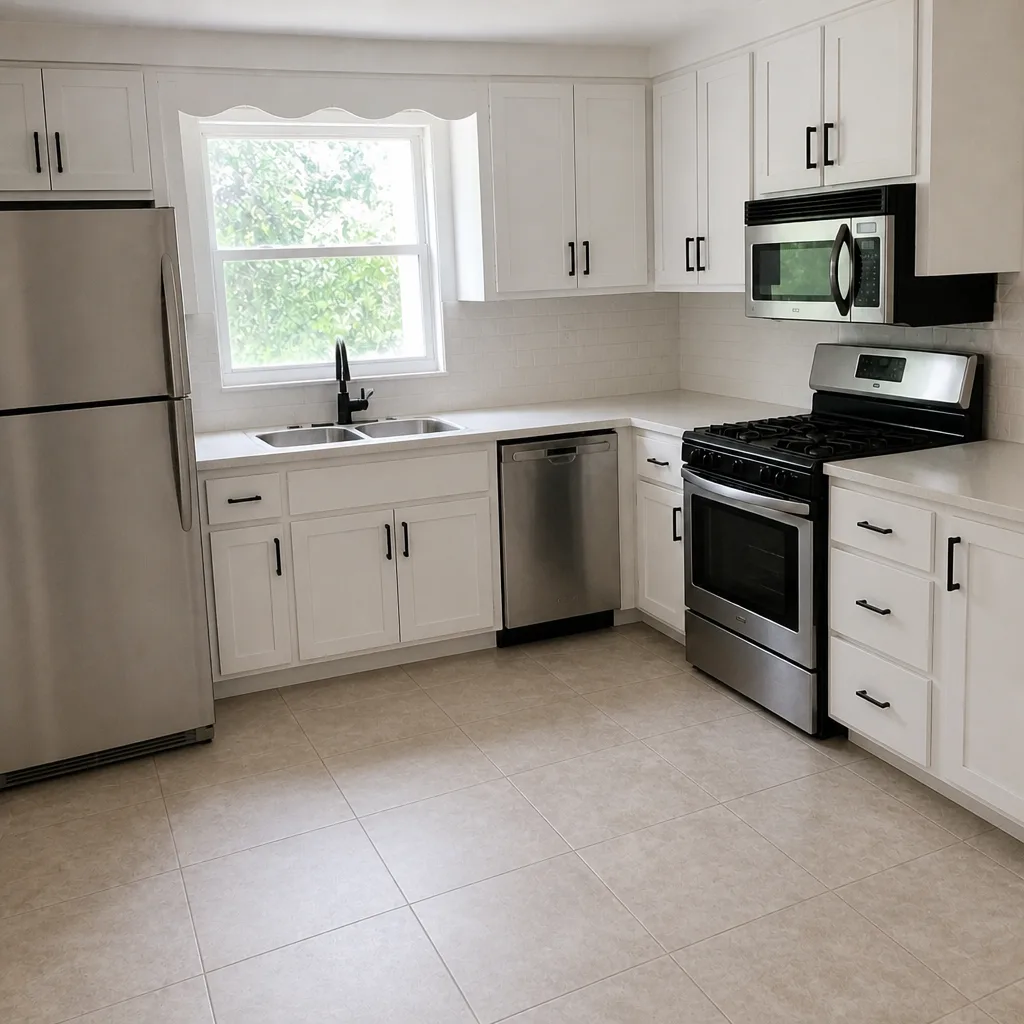 After
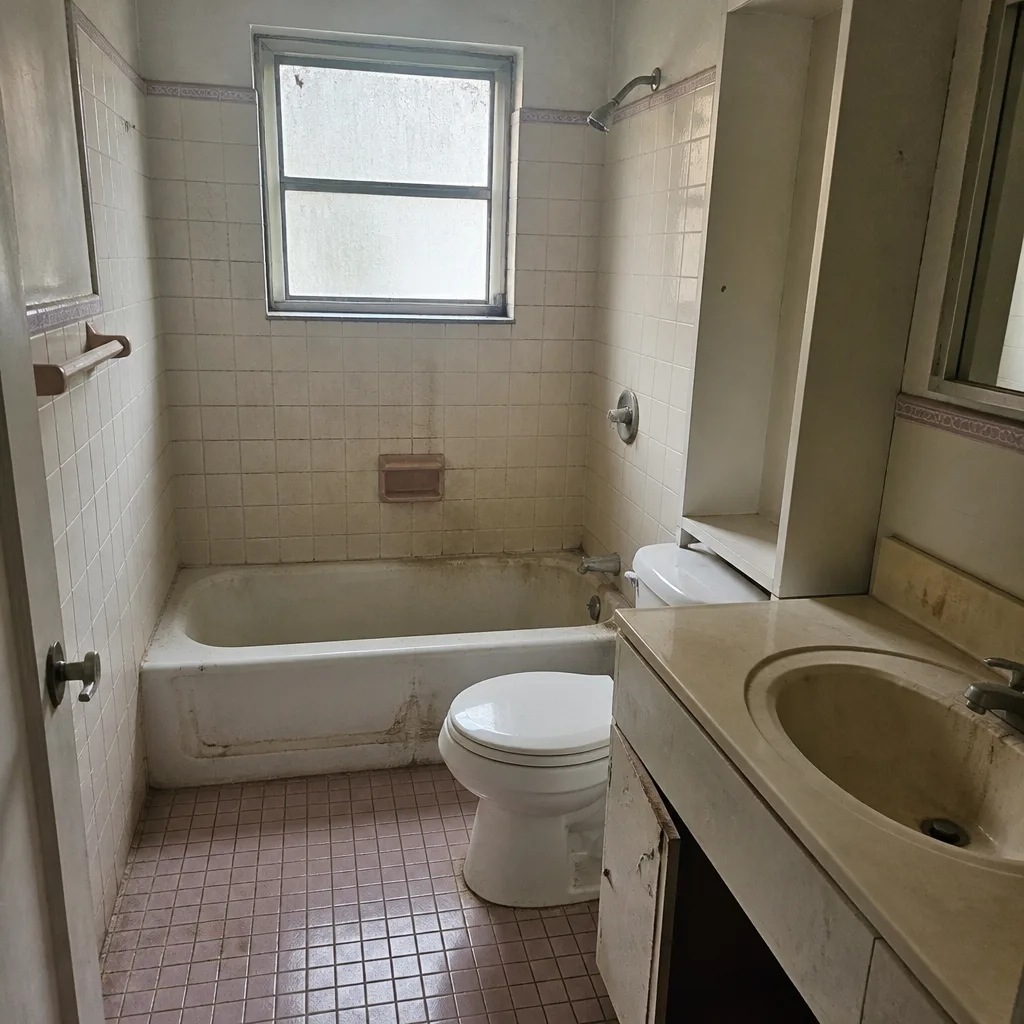 Before
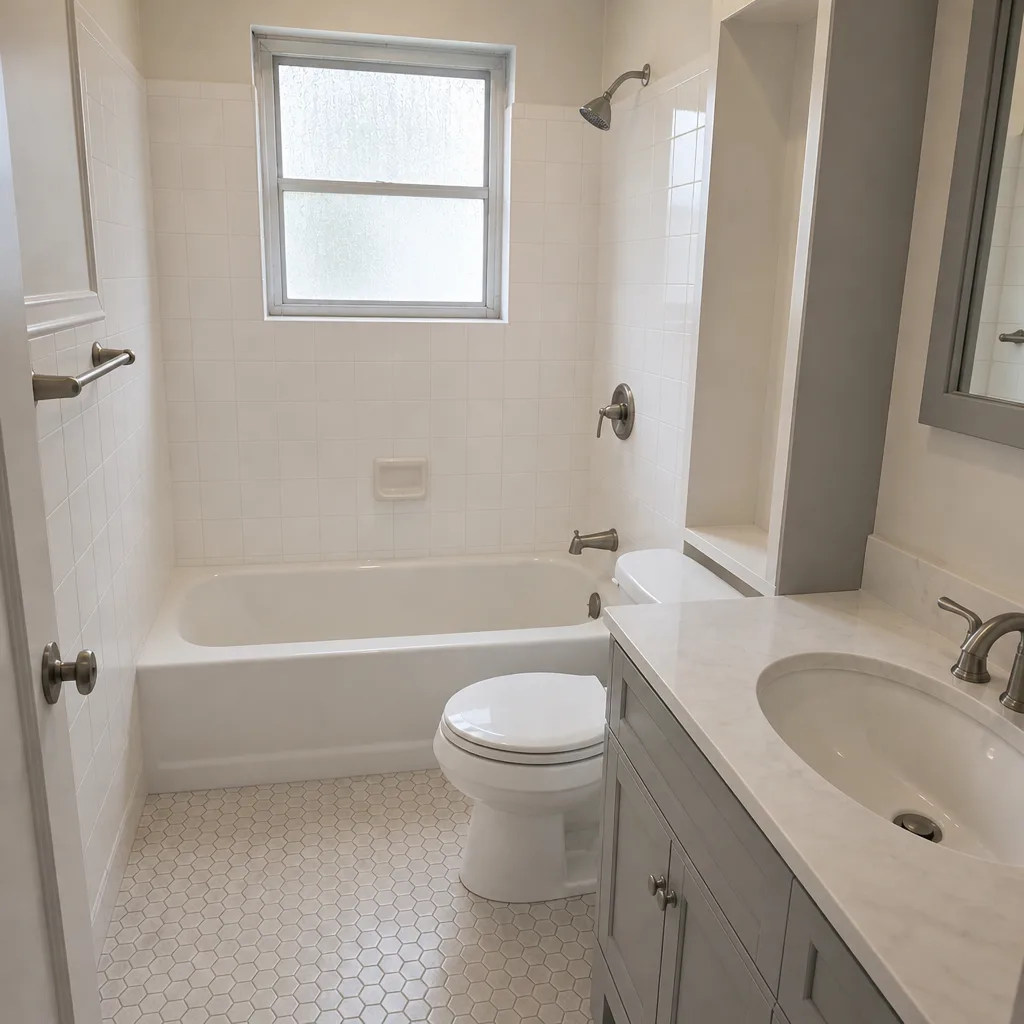 After
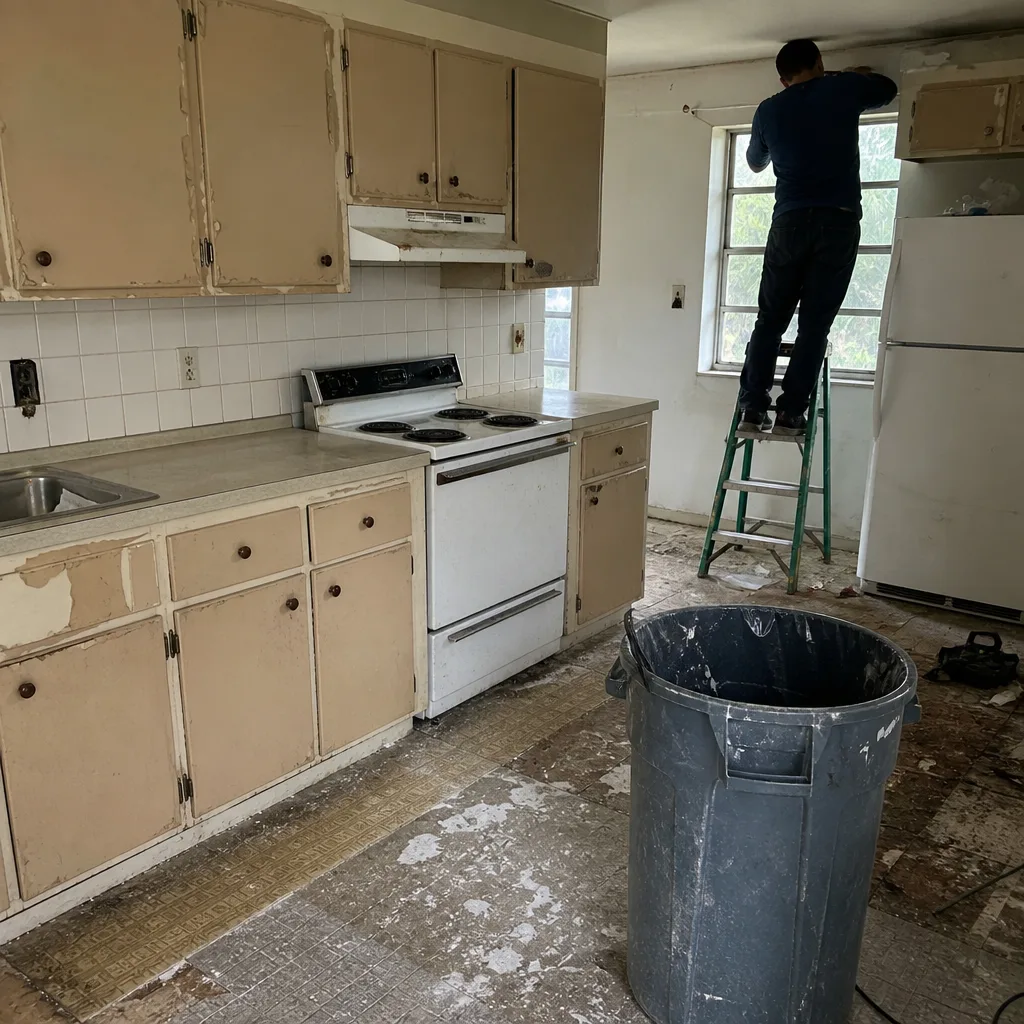 Before
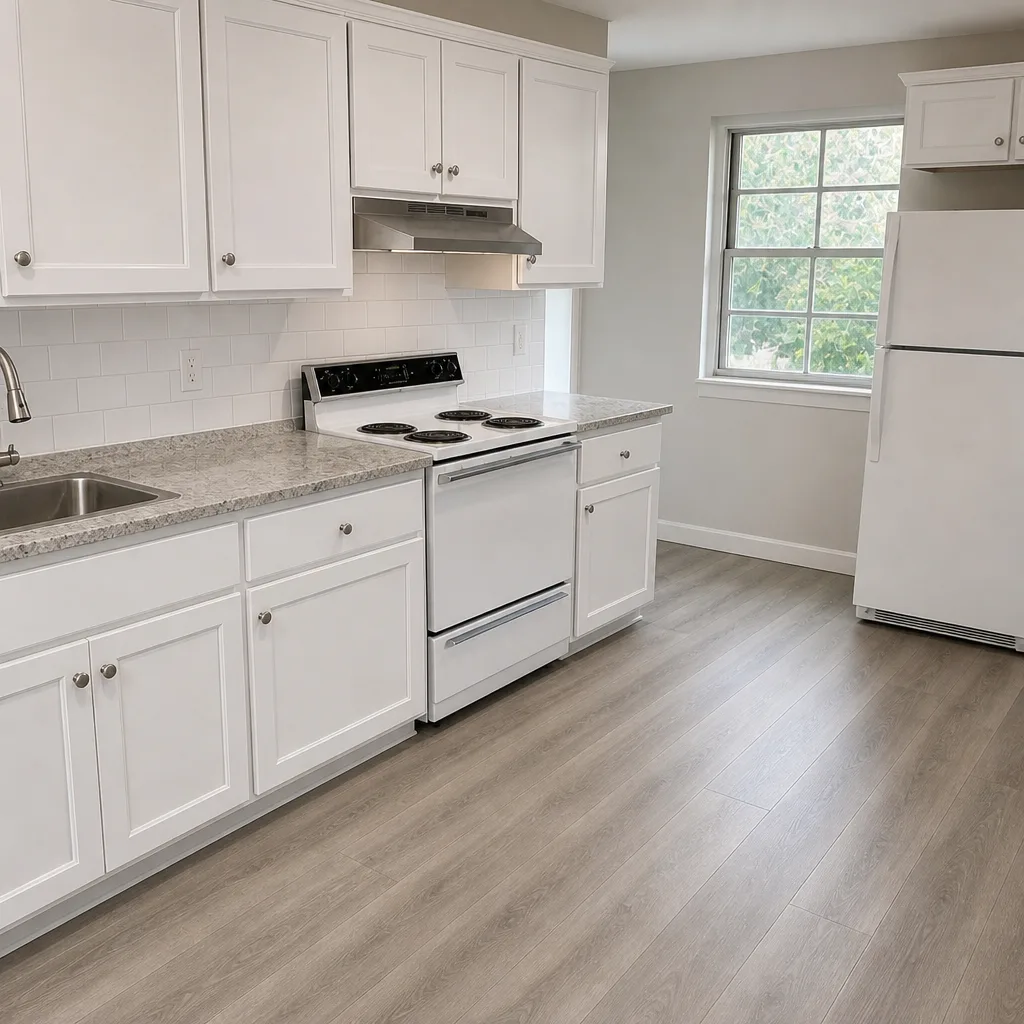 After
When to Call a Professional
Call a professional when the issue is structural, hidden, or inside the first year of a written guarantee. That means any water showing up in a cabinet base, any sign of cabinet box separation, a sink that flexes at the rim, or a toe kick that’s swelling. Those aren’t maintenance items; they’re signs that something underneath needs to be fixed before it spreads.
For ongoing maintenance like re-caulking a seam or snugging a loose pull, you can absolutely handle it yourself. But when you reach the outer edge of your one-year guarantee and you’re not sure whether a defect is covered, get a professional opinion in writing. Bradford Remodeling Co Coral Gables offers free estimates in Coral Gables, with a written price before any work starts and a live person answering the phone at (833) 510-5367. If you’re planning a kitchen from scratch rather than maintaining an existing one, our Kitchen Remodeling in Coral Gables page walks through the process from first estimate to final walkthrough.
Frequently Asked Questions

Thirty days. The first month is when cabinet boxes settle, caulk finishes curing, and hardware finds its final position. A 30-day walkthrough catches the small stuff while it’s still a five-minute fix, and while it’s covered under your contractor’s one-year written guarantee. In Coral Gables, where humidity speeds up the process, the 30-day check matters even more.
The refrigerator ice maker line. That compression fitting behind the fridge is under constant line pressure and has documented failure spikes around year two and year five. Pull the fridge out once a year and inspect the fitting for corrosion, mineral crust, or dampness. It’s the single highest-value prevention step in the kitchen. If you see anything, call (833) 510-5367 for a professional inspection.
Check all three critical seams (counter-to-wall, sink-to-counter, backsplash-to-wall) at every maintenance interval, and plan to fully replace the caulk by year three. Use a kitchen-rated silicone or siliconized acrylic, not painter’s caulk. If a seam fails in the first year, that’s a warranty item, not a maintenance item. Call (833) 510-5367 to schedule a free estimate if you’re not sure.
Moisture is reaching the cabinet base. On MDF cabinet boxes this is the failure point: once the toe kick swells, it doesn’t fully recover. The source is almost always a slow sink leak, a failed floor seam, or prolonged floor wetness. Find and fix the source first. Bradford Remodeling Co Coral Gables can inspect and quote a repair with a written price before any work starts. Call (833) 510-5367 for a free estimate.
Often not. Many written guarantees exclude caulk cracking and normal wear, even in the first year. Read your contract’s exclusion list before the problem starts, and put any warranty question in writing within the one-year window. If the guarantee doesn’t clearly spell out what’s covered, ask. A written guarantee is only worth what it says in plain language. Call (833) 510-5367 with questions about Bradford’s 365-Day Done Right Promise.
You can handle ongoing maintenance like re-caulking a seam, tightening a loose pull, or checking the fridge line. Call a professional for anything structural, any water showing up in a cabinet base, a sink that flexes at the rim, or a toe kick that’s swelling. Those are signs that something underneath needs fixing. Bradford Remodeling Co Coral Gables offers free estimates in Coral Gables, with a live person answering the phone. Call (833) 510-5367.
The Bottom Line
The lifespan of a remodeled kitchen is decided in the first three years. Check the seams, the sink clips, the toe kick, and the refrigerator water line at 30 days, 6 months, 1 year, and 3 years. Read your written guarantee before the one-year mark, because that’s the last window for covered work. In Coral Gables, humidity makes every one of these checks more urgent, not less. A disciplined maintenance routine is what turns a good kitchen into a twenty-year kitchen. If you need a professional eye on any of it, Bradford Remodeling Co Coral Gables offers free estimates with a written price before any work starts. Call (833) 510-5367. Read more about our full General Contractor in Coral Gables services, or start at the Bradford Remodeling Co Coral Gables home page.
Written by the team at Bradford Remodeling Co Coral Gables.