Last updated November 17, 2026




Free written scope consultation - allowances, timeline, and change-order rules on paper before a single trade is scheduled
Kitchen Remodeling Troubleshooting: Common Problems and How to Fix Them
Here’s the problem with kitchen remodel problems: they almost always surface after the walls are closed. A kitchen exhaust duct that terminates into the attic instead of through the roof is one of the most common code violations we see in South Florida remodels, and it’s invisible once the soffit is closed. By the time a homeowner notices the grease smell or the inspector fails the final, the contractor who caused it is often three jobs away. In Coral Gables, where older homes frequently have retrofitted kitchens hidden behind newer drywall, this is worse. This guide shows you how to catch trade-level problems during rough-in inspections, before drywall goes up, so you’re not cutting into new cabinets to fix hidden work.
Quick Answer
Most kitchen remodeling problems that matter are catchable during the rough-in stage: duct termination points, GFCI placement, drain slope, and cabinet layout verification against the shop drawings. Catching them costs a walkthrough and a camera. Missing them costs cabinet replacement, drywall rework, failed inspections, and a redo. The fix is a documented rough-in inspection before drywall, a written countertop template protocol, and a written punch list at close, not a verbal one.
Styles & brands we work with
- Kitchen remodeling
- Bathroom remodeling
- Home additions & ADU
- Roofing
- Windows & doors
- Driveway & pavers
- Fence
Table of Contents
- What to Check at Rough-In Before Drywall Goes Up
- Why Exhaust Ducts Terminated in the Attic Fail Inspection
- How to Spot a New Circuit Added to an Existing Breaker
- Cabinet Arrival: Damage, Mismatches, and Who Pays
- Countertop Template Timing Mistakes
- How to Write a Punch List That Holds Up
- Common Mistakes to Avoid
- When to Call a Professional
What to Check at Rough-In Before Drywall Goes Up
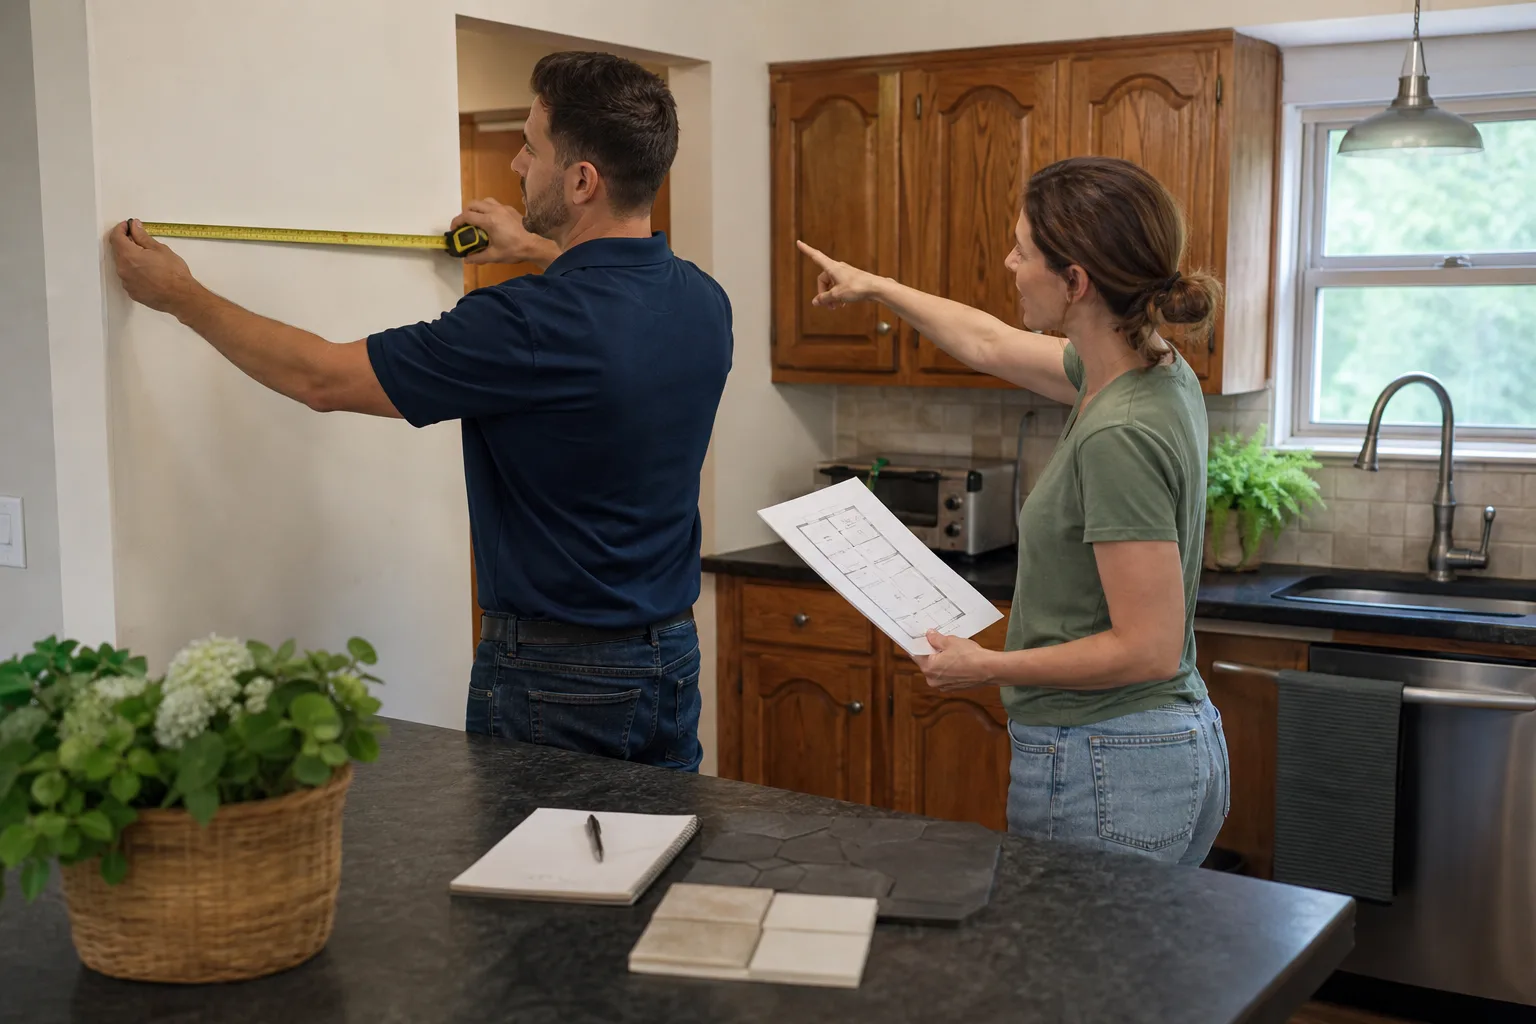
Rough-in is the stage when framing, wiring, plumbing, and HVAC are set but the walls are still open. It’s the last moment you can see everything. In our experience, homeowners who walk the rough-in with a written checklist catch 80% of the problems that would otherwise cost thousands. In Coral Gables, where many homes were built before modern appliance loads were on the drawing board, the rough-in walkthrough matters more than in new construction.
Before the drywall crew shows up, run through these steps:
- Photograph every wall opening. Stand in each corner and shoot wide shots plus close-ups of the plumbing supply lines, drain stacks, electrical boxes, and duct pathways. Keep the photos with your contract file. If something fails later, you have a record of what was behind the wall.
- Confirm appliance specs against the plan. A 36-inch range hood needs a 6- or 8-inch duct depending on the model. A 30-inch cooktop has different clearance requirements than a slide-in range. Open the spec sheets and compare the rough openings with the plan.
- Check GFCI placement at the appliance level. Every countertop receptacle within 6 feet of a sink needs GFCI protection, and so does the dishwasher circuit. Confirm placement before the boxes are buried.
- Verify drain slope on any relocated sink. A horizontal drain needs a quarter-inch of fall per foot. On a relocated island sink, a shallow slope looks fine in the open wall and fails after tile. Ask the plumber to show you a level reading.
- Measure cabinet rough openings against the shop drawings. One inch off on a pantry cavity means the KraftMaid cabinet won’t fit or its door swings into a wall. Tape measure the openings before drywall.
If any of these come up short, the fix is cheap at rough-in. After drywall, the same fix is surgical. That’s the entire argument for scheduling this walkthrough and holding the job to a documented standard. Our General Contractor in Coral Gables team treats rough-in inspection as non-negotiable on every kitchen, not an optional add-on.
Why Exhaust Ducts Terminated in the Attic Fail Inspection
An exhaust duct that dumps kitchen air into the attic instead of through the roof fails inspection, feeds mold in a South Florida attic, and coats the framing with grease over time. It’s one of the most common shortcuts we find on remodels in Coral Gables, particularly on homes where the original vent terminated under a soffit and the new hood was installed without re-routing. Code requires a smooth, sealed metal duct terminating outdoors with a backdraft damper. In an attic, it terminates nowhere useful.
Why contractors do it: running a duct through the roof or sidewall costs more. Dropping it in the attic costs almost nothing. If the hood is a recirculating model that doesn’t need a duct at all, the contractor should have specified that up front. If the hood is ducted, it needs a real path out.
Here’s what to check at rough-in:
- Trace the duct from hood to exterior. Not to the attic floor, not to a soffit vent, not to a “future” termination point. All the way outside, with a damper cap.
- Confirm the duct material. Rigid galvanized steel or aluminum. Flexible foil duct is acceptable only in short runs where rigid isn’t possible, and never corrugated over 8 feet.
- Verify the duct size against the hood spec. A 600-CFM hood needs an 8-inch duct. Undersized duct noise and reduced air movement are the tell.
- Check the exterior cap during a rainstorm. A cap installed without a damper lets water and insects in. The fix is a $30 part. Catching it after the roof is closed costs a roofing revisit.
Soffit-closed ductwork is where these failures hide. If your contractor is closing the ceiling above the kitchen before you’ve walked the duct, slow the job down. A day of delay is cheaper than a failed final.
How to Spot a New Circuit Added to an Existing Breaker
Adding a new kitchen circuit to an existing breaker instead of running a dedicated line is a code violation that shows up as tripped breakers the first time the microwave and toaster run together. Kitchens need dedicated circuits: one for the refrigerator, one for the dishwasher, one for the microwave, at least two for countertop receptacles (often more in larger kitchens), and separate circuits for any high-draw appliance. Piling them onto one breaker works until it doesn’t.
You can check this yourself in about fifteen minutes with the panel open. We say this with a caveat: opening a panel is genuinely dangerous if you don’t know what you’re doing. A trained electrician should do this. But you can ask your contractor to walk you through the panel with the cover on, and you can ask to see the electrical permit and the panel schedule that was submitted with it.
What to look for:
- A new #12 or #14 wire landing on a breaker that already has a wire. A double-tapped breaker feeding two circuits is a defect. Each screw terminal should hold one wire.
- The microwave, dishwasher, and refrigerator on the same breaker. Ask for the specific breaker assignments in writing. If they’re shared, ask why.
- Arc-fault (AFCI) and ground-fault (GFCI) protection missing on new kitchen circuits. Modern code requires both, and GFCI is required on all countertop receptacles near a sink. A contractor who skipped this is telling you something about how the rest of the job is going.
- The panel label not updated. New circuits need clear labels. If the panel schedule still reads “kitchen” with no detail, the work hasn’t been documented.
Electrical shortcuts are the hardest problems to find later because they work fine for months. The best time to catch them is at rough-in, with the wall open and the permit in hand.
Cabinet Arrival: Damage, Mismatches, and Who Pays
When cabinets arrive damaged or don’t match the shop drawings, who pays depends almost entirely on what was documented when they arrived. In our experience across Coral Gables, the homeowner who signed a delivery receipt without inspecting the boxes has the weakest claim, and the homeowner who photographed every box and got the delivery driver to acknowledge damage on the ticket has the strongest.
What to do the day cabinets arrive:
- Inspect every box before signing. Open enough cartons to check finish on fronts, door alignment, and drawer boxes. If the crew won’t wait, sign “subject to inspection” and photograph the truck before it leaves.
- Compare the cabinet order to the shop drawings line by line. Cabinet width, depth, door style, finish, hardware, and configuration (hinge side, drawer configuration). A KraftMaid or Wellborn cabinet manufactured to the wrong spec is expensive to remake and often has a 6 to 12-week lead time.
- Photograph damage against a measuring tape. Include the shipping label with the photo. This is the documentation the manufacturer or dealer will ask for.
- Notify the dealer and contractor in writing within 24 hours. Email is enough. Keep the thread. A phone call without a written follow-up is not a claim.
- Ask who bears the cost before accepting a repair. Cosmetic damage on a filler might be acceptable with a finish touch-up. A damaged door face is a replacement, not a repair. Get the answer in writing before the installer sets anything.
Lead times drive options. If cabinets arrive wrong at week 4, the fix might be a remake in week 14 (a finish-match issue that requires the whole run to be re-shot) or a two-week partial if only a couple of boxes are affected. That depends on the brand and the dealer. The right move is to lock the answer down before you sign an acceptance form, and to make sure the contractor’s written price covers installation of the replacements at no added cost if the damage was documented at arrival.
Countertop Template Timing Mistakes
Templating a countertop before the cabinets are fully level and shimmed is the single most expensive schedule error in a kitchen remodel. Once a Cambria or quartz slab is cut, it doesn’t go back. If the template happens on an unlevel cabinet run, the countertop installs with seam gaps, overhangs that don’t match the design, or a waterfall edge that misses the floor by a half inch. Fixing it means a new slab, new fabrication, and a second install visit. The two-week lead time becomes a two-month setback.
What “fully level and shimmed” means: every cabinet box plumb and level within 1/8 inch across the run, all shims installed and secured, and the drawer fronts or doors test-fitted with the actual hardware. Base cabinets against an out-of-plumb wall need filler strips before templating, not after. Sink cutouts need the actual sink on site so the fabricator templates to the physical unit, not the spec sheet.
What to check before you let the templater in:
- Level across the entire run, not just the front edge. A level on the front rail looks fine. A level on the top of the highest cabinet box tells the truth.
- Wall plumb on both ends. A wall that bows 1/4 inch means the seam won’t be straight when the slab lands.
- Sink and faucet on site. Cutouts template to the actual fixtures. If the faucet is still in shipping, hold the template.
- Dishwasher and range openings confirmed. The countertop overhang has to cover the appliance opening and match the appliance corbel. Once the slab is cut, that overhang is fixed.
- Support for overhangs at seating areas. A 12-inch bar overhang with no corbels will move. The template should include the corbel placement, and the corbels should be installed before install day.
Templating on time is the contractor’s job, not the fabricator’s. A disciplined GC holds the templater to the level-and-shimmed condition, because the schedule pressure is always to template early and fix later. Later never happens. A well-run kitchen remodel in Coral Gables – where humidity and seasonal movement punish sloppy fits harder than in drier climates – needs the template done once, correctly, on a finished base.
How to Write a Punch List That Holds Up
A written punch list is the only punch list that matters. Once a homeowner has walked a final and signed an acceptance form, the contractor can reasonably claim the remaining items were accepted as-is. That includes the cabinet door that doesn’t align, the outlet that’s dead, the grout that’s already missing. If you want those fixed under warranty, they need to be documented before the sign-off.
How to write a punch list that holds:
- Use the contract’s scope list as the template. Every scope item gets a line, even the ones you’re satisfied with. “Cabinet install: accepted” is a fair entry. Silence is not.
- Photograph each item. Wide shot for context, close-up for detail. Label the photos with the room and item number.
- Describe the defect in trade terms plus plain language. “Base cabinet front left of range: door misaligned, 3/16-inch gap at top, won’t close flush to adjacent door.” Not “cabinet looks bad.”
- Include a completion date. Written and agreed: the contractor returns to close the list by a specific date. Failing that, warranty coverage from the 365-Day Done Right Promise applies.
- Deliver it in writing, keep a copy, and specify that acceptance is conditional on completion. The phrase “final payment held pending completion of the attached punch list” is the single most effective line in home remodeling. Use it.
The 365-Day Done Right Promise is the backstop. Any defect that surfaces inside the first year is corrected at no charge as long as it falls within the written guarantee. Punch list at close catches the visible items; the warranty catches the hidden ones. Both need to be in writing, and both need to be in the homeowner’s hands at job close. That’s what squared away looks like: clean site, documented scope, signed written guarantee.
Common Mistakes to Avoid
- Signing a delivery receipt without opening boxes. Once the receiving signature is in, damage claims get harder. Inspect the cabinets, count the boxes, and note any damage on the ticket before the driver leaves. This is the day it gets decided.
- Paying the final invoice at final walk. Final payment and final walk are different moments. Hold final payment until the punch list is closed out. Contractors who want the check before close-out can explain why in writing.
- Letting the drywall crew in before the rough-in walkthrough. Once the walls close, every concealed defect becomes a repair. Schedule the inspection and put it on the contract schedule as a hold point.
- Templating countertops on unlevel cabinets. A half-day of shimming saves a two-month remake on a Cambria slab. This is the one shortcut that costs the most in Coral Gables, because replacement slabs often come from out-of-state warehouses with their own lead times.
- Accepting a verbal permit. In South Florida, kitchen electrical and plumbing changes need a permit and an inspection. If your contractor is skipping the permit to save a week, the inspection is the check on the work. No permit, no proof.
- Skipping the panel schedule update. New kitchen circuits that don’t appear on the panel label are a future problem you’re leaving to the next owner of the house. Documented circuits are part of a finished job.
- Letting the contractor choose materials without a documented standard. A cabinet that reads “KraftMaid or equivalent” on the estimate is not the same as a KraftMaid cabinet on the spec sheet. Brand names and model numbers in writing make the work traceable.
See the difference
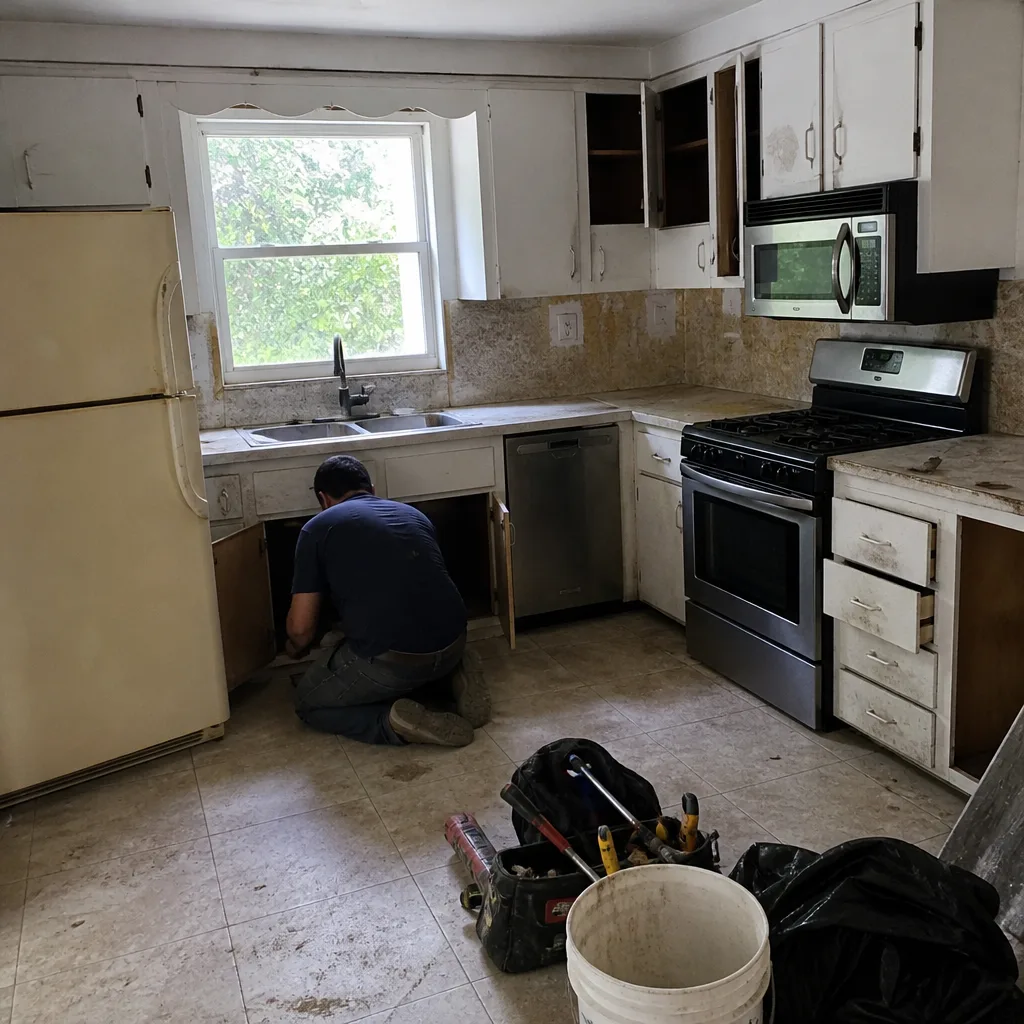 Before
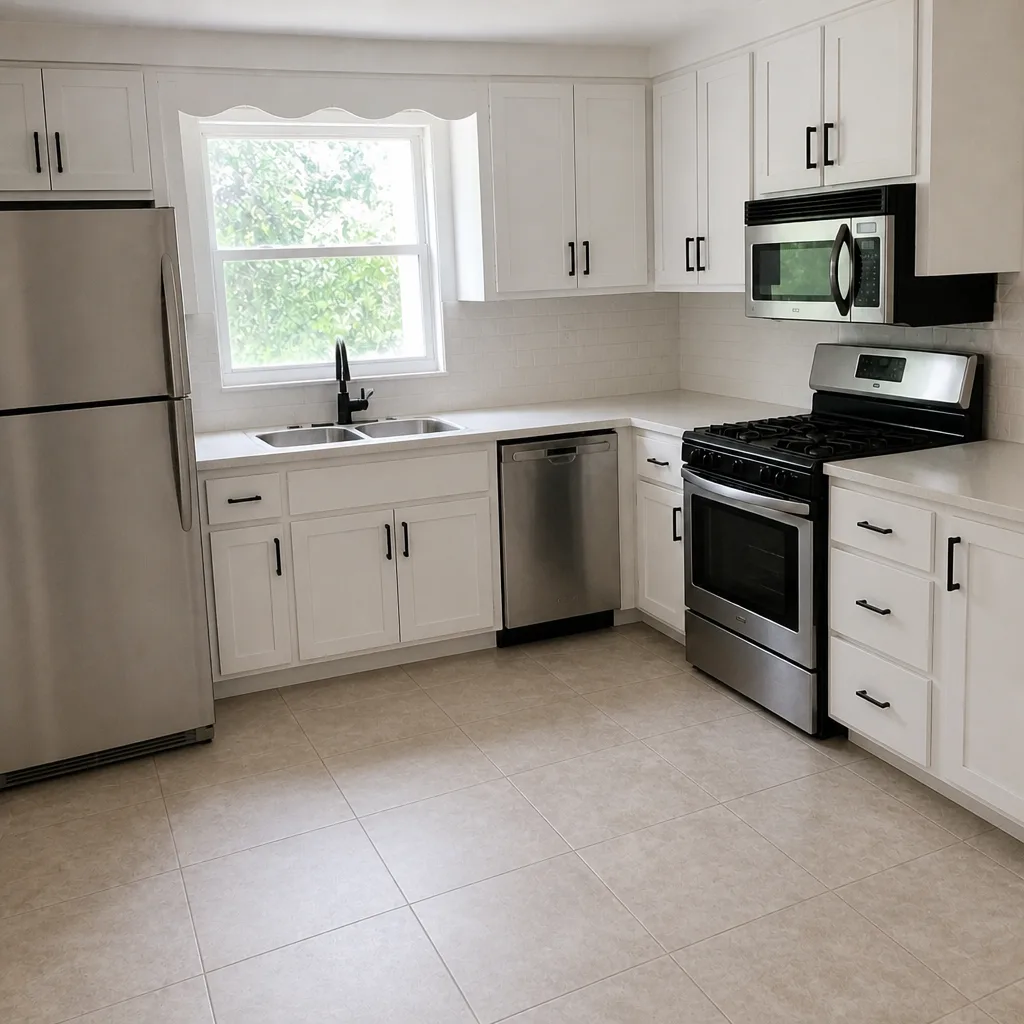 After
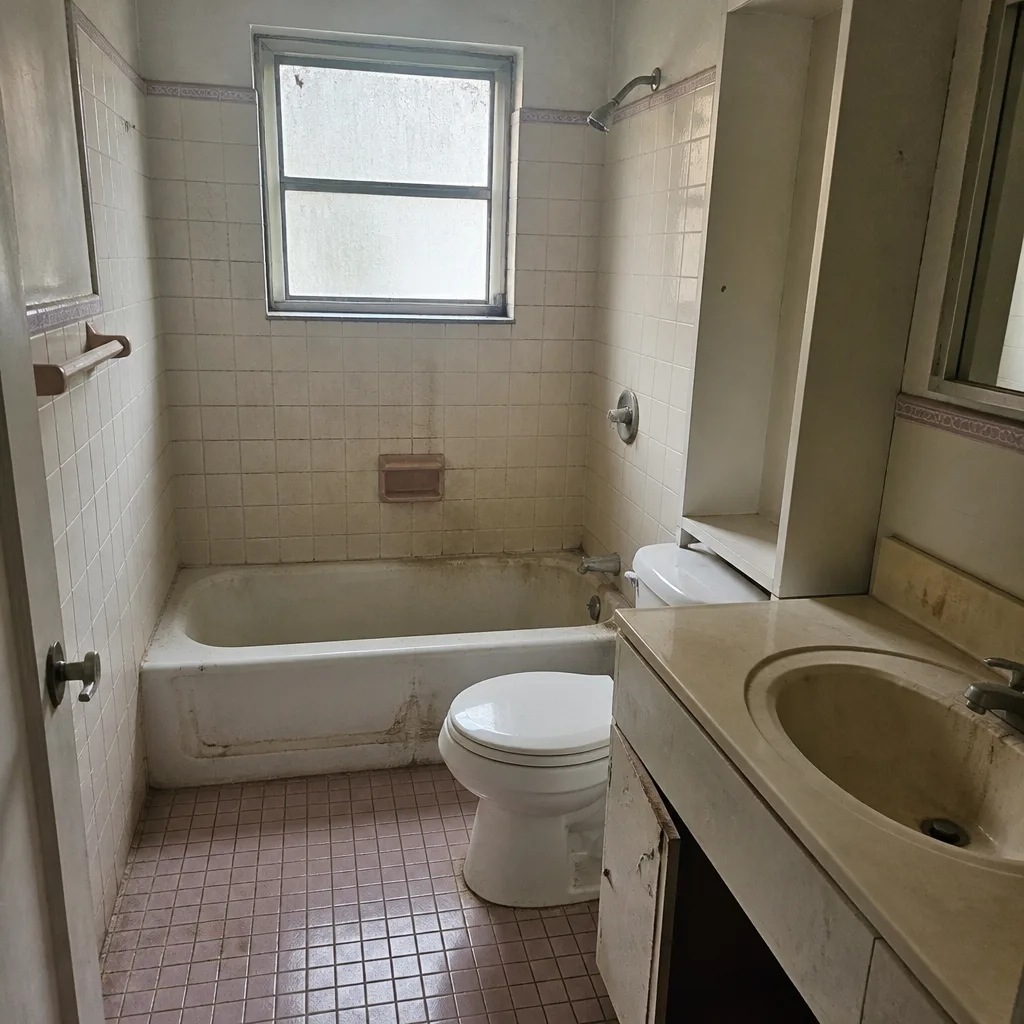 Before
 After
 Before
 After
When to Call a Professional

Some kitchen remodel problems are DIY territory: a misaligned cabinet door, a scratch on a filler, a touch-up on paint. The problems in this guide are not. Exhaust duct re-routing, dedicated circuit work, countertop template timing, and punch list enforcement all require trade-level judgment, and getting them wrong costs more than the labor to do them right.
Call a professional when you’re facing any of these:
- The drywall crew is scheduled and you haven’t walked the rough-in.
- Cabinets arrived damaged and the dealer is pointing at the contractor.
- The countertop fabricator wants to template before the base cabinets are level.
- The contractor wants final payment before the punch list is closed.
- A new circuit is sharing a breaker with the microwave and you weren’t told.
Bradford Remodeling Co Coral Gables offers free estimates in Coral Gables. Every price is written before work starts, every completed project carries the 365-Day Done Right Promise, and every crew is background-checked and uniformed. Call (833) 510-5367 to schedule a free estimate. A live person answers, 24 hours a day.
Frequently Asked Questions
Fixing a duct that terminates in the attic typically runs $400 to $1,200 if caught before drywall and $2,500 to $5,000 after. A dedicated kitchen circuit runs $350 to $800 installed. Countertop templates redone on unlevel cabinets can cost $2,000 to $6,000 in slab and fabrication fees on a Cambria or quartz surface. Call (833) 510-5367 for a written estimate on your specific situation.
Yes. The panel schedule submitted with the electrical permit shows every circuit assignment. Ask your contractor for a copy and compare it to the appliances in the kitchen. A shared breaker on the microwave and dishwasher is a defect to raise at rough-in, not later. An electrician should open the panel for a real confirmation.
Cabinet mismatches usually come from a hand-written order spec, a swapped SKU at the dealer, or a factory pick error. The contractor’s job is to compare every carton to the shop drawings on arrival day. A KraftMaid or Wellborn remake runs 6 to 12 weeks typically. Document the mismatch in writing within 24 hours of delivery and hold the dealer to the original spec.
Yes. Electrical, plumbing, and structural changes require a permit and inspection in Coral Gables and most of Miami-Dade County. A permit is the check that catches the duct termination problem and the shared-circuit problem before the walls close. Skipping it to save a week trades a small delay for an uninsured risk.
Stop the install. If the slab hasn’t been cut yet, templating can be redone. If it’s already cut, the fabricator and the GC need to sort out who pays for the replacement; the correct answer is the party who templated on an unlevel base. Get the resolution in writing before any slab is set.
Not on a Bradford Remodeling Co Coral Gables job. Every price is written before work begins, and no number moves at the door. If a fixing change emerges during rough-in, it gets a written change order with a number attached before the work continues. Call (833) 510-5367 for a free written estimate.
The Bottom Line

Most kitchen remodel problems are catchable at the rough-in stage, before the drywall closes. Ducts that terminate in the attic, circuits sharing a breaker, unlevel cabinet bases, countertops templated too early – every one of these is a five-minute catch with the walls open and a five-thousand-dollar fix after. Build the walkthrough into the contract schedule as a hold point. Photograph everything. Insist on a written punch list with a delivery date. And treat the 365-Day Done Right Promise as what it is: a written guarantee that a defect gets corrected at no charge inside the first year. Every price written first, every promise in writing, that’s The Garrison Standard. If you’re shopping for a Coral Gables kitchen remodeler, check what they put in writing before you check what they say.
Looking for the same discipline on a larger project? Our kitchen remodeling in Coral Gables team handles the whole scope. If your next project touches the full house, see our bathroom remodeling in Coral Gables work and start from the Bradford Remodeling Co Coral Gables home page. For a written estimate on your kitchen, call (833) 510-5367. Estimates are free, and a live person answers 24 hours a day.
Written by the team at Bradford Remodeling Co Coral Gables.